Decorated Acorn Cookies with Brush Embroidery
My decorated acorn cookies are perfect for fall gatherings, Thanksgiving celebrations, and harvest-themed events.
updated from 2012
DECORATED ACORN COOKIES STEP-BY-STEP
- Cookie Decorating Guide
- Beginner’s Guide To Cookie Decorating
- Ultimate Guide to Cut-Out Cookies (tips, tricks, troubleshooting)
- Royal Icing Recipe
- Small Batch Royal Icing Recipe
- Cookie Icing Recipes (includes vegan royal icing, glaze, fondant)
- Guide To Royal Icing Consistencies with Visual Help(what is stiff, flood icing, etc.)
- How To Freeze Royal Icing
- How To Make Royal Icing Transfers
- Royal Icing FAQ ( for example: how to make black icing, color bleeding, storage, and more)
- How To Make a Cookie Cutter Template
- Ultimate Guide To Cookie Decorating Tools
Subscribe to Haniela’s Cookie Club on Patreon and get access to exclusive and ad-free tutorials, templates, sneaks peeks, and more.
THINGS YOU NEED
- Acorn Cookie Cutter
- Gel Food Coloring: ivory, green
- Food Only Paintbrushes
- Edible Markers (optional)
- Tipless Piping Bags
- Edible Luster Dust: brown, bronze or gold (optional)
- Scribe Tool
This post contains Amazon affiliate links that earn me a small commission, at no cost to you. I only recommend products that I use and love. Learn more about my affiliate policy here.
BAKE COOKIES
There are plentiful acorn-shaped cookie cutters on the marker. Don’t worry if you don’t have the exact shape I used. This decorating design is easily adaptable to any acorn shape. Bake the cookies using one of my tested cut-out cookie recipes.
ROYAL ICING COLORS AND CONSISTENCIES
- Light Green: 15-second consistency
- Dark Green: 15-second consistency
- White: 15-second consistency
- Ivory: 15-20 second consistency (cap/cupule), Piping to a thick consistency (brush embroidery)
- Brown – 20 second consistency (stem)
DECORATE ACORN COOKIES
Start by outlining and flooding the cap (cupule) with 15-20 second consistency ivory icing (steps 1-5). Let it crust.
USE TWO-TONE ICING
We will start with darker green icing on the side and ice a small area of the cookie (steps 1-6).
You don’t need to wait for the icing to crust. Take a lighter shade of green and ice the remaining area with icing. Use a scribe tool to distribute the icing evenly across the cookie (steps 1-4). Immediately, take white icing and pipe a highlight on the left side (steps 5-8).
Piping the stem with 20-second brown icing.
BRUSH EMBROIDERY
I used a simple dotted brush embroidery technique. It’s straightforward and nearly effortless to execute.
- You need:
- A small paintbrush (a small square or a liner works well).
- A thicker consistency of royal icing (piping to thick icing) colored with ivory food coloring.
- Piping tip #2 or #3
- Water – to dampen and clean the paintbrush
- Paper Towel or Kitchen Towel – to remove access water from the paintbrush
- Pipe a short line of medium-sized dots- don’t make the dots too small (steps 1-2).
- With a lightly damp paintbrush, move about 1/3 of each piped dot toward the top of the acorn cap (steps 3-4).
- Continue piping dots, using the paintbrush to create a brush embroidery design. If icing is sticking to the bristles, clean the brush in water and dab it onto a paper towel to absorb excess water (steps 5-6).
- Pipe 3-4 rows of dots, depending on the size of the dots, until you cover the whole acorn cap (steps 7-8).
GOLD LUSTER DUST
Mix gold or bronze luster dust with vodka or Everclear and paint a dry brown stem (step 1-3)
As you can see, you can decorate many different acorn shapes.
VIDEO TUTORIAL
In this video tutorial, you can view acorn cookies decorated with various techniques.
MORE FALL DECORATED COOKIES
ACORN COOKIES FROM THE PAST
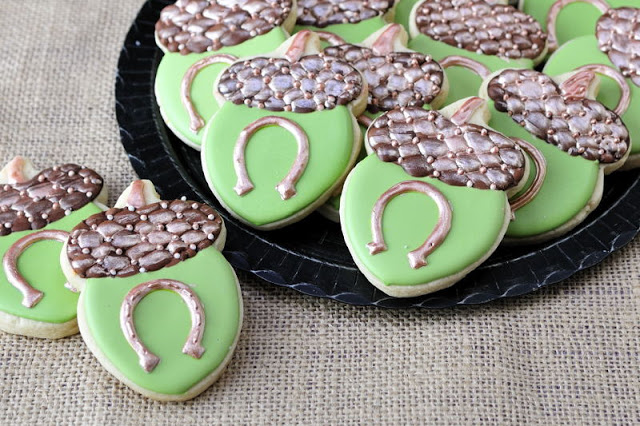
Below is a set of cookies I was asked to make for a Fall horseriding event.
This cookie decorating tutorial was published on October 18, 2012. On September 4, 2024, I updated it with new step-by-step pictures, written text, and a video.
Oh my goodness, you are so talented! They are awesome!