
Beginner Guide to Cookie Decorating
In this guide, I’ll walk you through the basics of cookie decorating. We’ll cover everything you need to get started, from cookies to icing consistency, plus essential decorating tools and beginner techniques.

BEGINNER’S GUIDE TO COOKIE DECORATING
In this guide, I’ll walk you thru the essential building blocks of cookie decorating. Remember, cookies and icing are both the backbones of cookie decorating. Without a good cookie recipe, cookies taste bland, spread too much, dry out, or become too fragile. And icing? Icing should be more than just an accessory. It should have its flair. Cookies and icing should stand out on their own, and together they should complement each other.
TRUSTED CUT-OUT COOKIE RECIPE
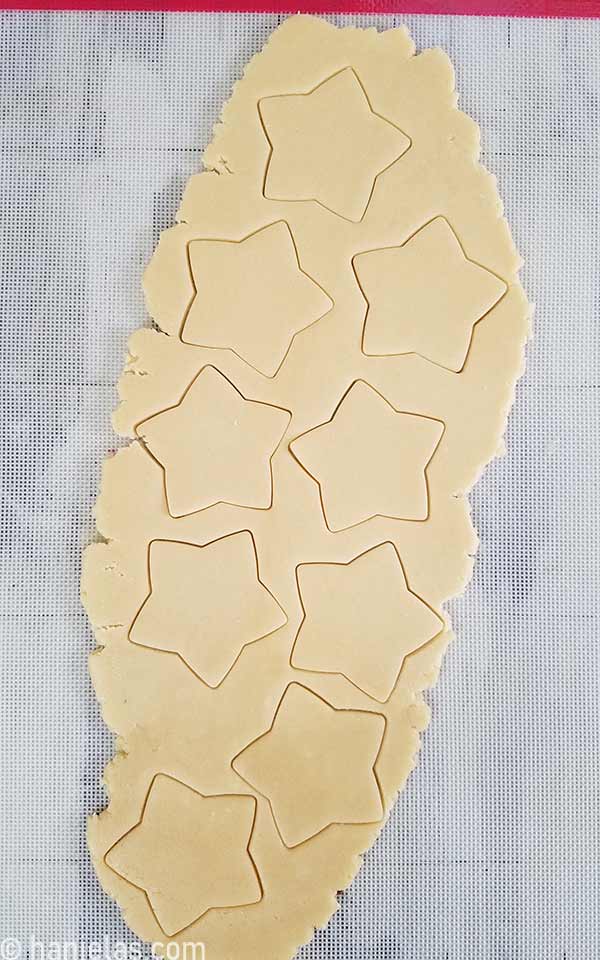
If you’re just starting out, choose a trusted, well-tested, reliable recipe to bake cut-out cookies. Don’t try to develop a recipe from scratch. There is time for that later. Believe me, there are a plethora of cut-out cookie recipes out there. My favorite recipe is a cross between shortbread and sugar cookies.
Start with a cookie
- That tastes great.
- Holds its shape during baking.
- Doesn’t spread excessively.
- Is easy to roll.
- Has a smooth, flat surface for decorating.
- Is sturdy enough to handle icing decoration.
Cut-out cookie basics to remember
- Choose a reliable recipe to start your decorating journey.
- Chill the dough.
- Roll the dough evenly; use rolling guides.
- Cut cleanly using a cutter; learn how to hand-cut if needed.
- Use a flat light-colored baking sheet, parchment, and a perforated mat.
- Bake till set.
- Allow cookies to cool completely before decorating.
Popular cut-out cookies recipes
- Favorite Sugar Cookie Recipe
- Gluten-Free Sugar Cookies
- Chocolate Cookies
- Cut-Out Gingerbread Cookies
- Honey/Gingerbread Cookie Dough for Cookies and Edible Gingerbread Houses (kid-friendly, mild in taste)
- Construction Gingerbread Recipe: perfect for making gingerbread houses, centerpieces for display
Learn more about cut-out cookies
- Ultimate guide to cut-out cookies
- How to freeze cookies at different stages
- Make your own cookie-cutter templates
- The Cut-Out Cookie Formula (eBook): understand ingredients, baker’s percentages, how to modify a recipe, and how to use cocoa powder, milk powder, brown butter, and more.
ROYAL ICING
The most popular medium to decorate cookies is royal icing. Icing brings cookies to life in ways I’ve never imagined. To this day, it still amazes me how icing can transform a cookie into a masterpiece.
If you have never worked with royal icing before, I suggest you start small. Make a small batch recipe. Color it, thin it with water, and decorate simple cookies. You may be surprised that royal icing takes hours to dry. It’ It’s not rock hard, but not soft like buttercream.
Royal icing is incredibly versatile
- You can use royal icing to achieve many different decorating tasks:
- The basics: outline, flood, pipe details.
- Piped textures: You can achieve these with piping tips; some designs can be done without one.
- Dimensional borders, beaded borders, rosettes, grass, ruffles, shells, stars, leaves, bows, basket weave, ropes, sweater textures, and more.
- Brushed-on texture
- Brush embroidery, see-through lace, woodbark, fur, beard, rough surfaces, rustic textures, snow, leaf texture, fuzzy texture/sponging, felt-like texture.
- Stenciled texture: A slightly raised, uniform patterned texture made with stencils (there are infinite designs on the market).
- Embossed texture: Create texture using embossing tools such as textured parchment sheets, or try a simpler approach with pieces of smooth or crumpled parchment. Place the parchment onto wet royal icing and gently press it into the surface. Leave it in place until the icing is dry, then carefully peel it away to reveal the embossed texture.
- Embedded texture: You can add other edible decorations to wet icing, and they become embedded in the icing, creating unique textures. Use sprinkles, sanding sugar, edible pearls, small candies, edible glitter.
- Puffy texture: quilted fabric, pumpkin ribs, pillows, and more
- Royal icing transfers: decorations that keep for years:
- Pipe 3D flowers (roses, daisies, sunflowers, and more)
- Pressure piped designs
- Create 2D royal icing transfers (infinite possibilities, great for accents or full-scale cookie decorations)
- Make sprinkles using icing to make your project.
- Layered textures: create dimensional designs following this structure: flood-let dry-decorate-dry-decorate. Great for achieving dimensional designs.
- Wet-on-wet decorating: One of the most popular decorating techniques. Use it to create arresting designs in minutes. Use it to make polka dots, hearts, marbled/feathered patterns, florals, wreaths, and so much more.
- Edible glue: Use it as glue to attach small decorations on cookies, or as a glue to build 3D cookie pieces
Popular royal icing recipes
- Fresh Lemon Royal Icing: I love the lemon flavor!
- Royal Icing: You can make royal icing with meringue, fresh egg whites, and pasteurized egg whites.
- Vegan Royal Icing: This icing uses aquafaba.
- Small Batch Royal Icing: Great for small projects or when you’re just starting out.
Learn more about royal icing
- 101 Royal Icing Consistency: ultimate step-by-step picture and video guide to royal icing consistencies.
- Ultimate Guide to Royal Icing: over 50 questions and answers, for example: “How can I make royal icing with a softer bite?”
- 101 Royal Icing Transfers
- How to Freeze and Reuse Previously Frozen Royal Icing
ROYAL ICING CONSISTENCY
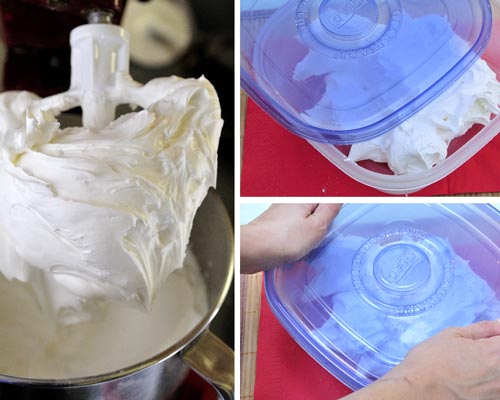
Understanding royal icing consistency and learning to get it right is, without a doubt, one of the biggest learning curves in cookie decorating. The recipe I use produces a stiff-consistency icing straight from the mixer. From there, I adjust it with water to achieve the consistency needed for different decorating techniques. Some jobs require thicker icing, while others call for icing that flows more easily. With a little practice, you’ll learn how much water to add and how the icing should behave for each job.
Basic consistency categories
- Stiff icing: This is thick and holds its peak. Icing is suitable for piping roses and other flowers and for creating textured designs; you can also use it as glue.
- Piping/detail icing: This icing is a bit softer than stiff icing and can be used to pipe details without losing detail, as icing doesn’t spread flat.
- Flood icing: Any icing you can use to flood an area and produce a smooth top finish. It can range anywhere from 4-25 seconds. The most popular icing for flooding base medium-size cookies is a 10-15-20 second consistency.
- 101 Royal Icing Consistency: Learn how to recognize different royal icing consistencies and choose the right one for your projects with my Ultimate Guide to Royal Icing Consistency, complete with step-by-step photos and video demonstrations.
Common consistency problems
- Too thick: difficult to pipe, rough surface
- Icing has too many bubbles: cover the bowl with a damp towel, let it sit for 10 minutes, and the bubbles will rise to the top. Carefully run a flat spatula across the top to pop the bubbles.
- Too thin: spreading, overflowing cookies, loss of definition; mix in a little thicker icing to thicken the icing.
- Icing separating: this is normal; stir icing in the bowl or gently massage the piping bag
ROYAL ICING ISN’T THE ONLY DECORATING OPTION
One size doesn’t fit all, and that’s true for royal icing. If you prefer buttercream or a softer-bite icing, don’t despair. You have options! Stick around, because we’re getting to those next.
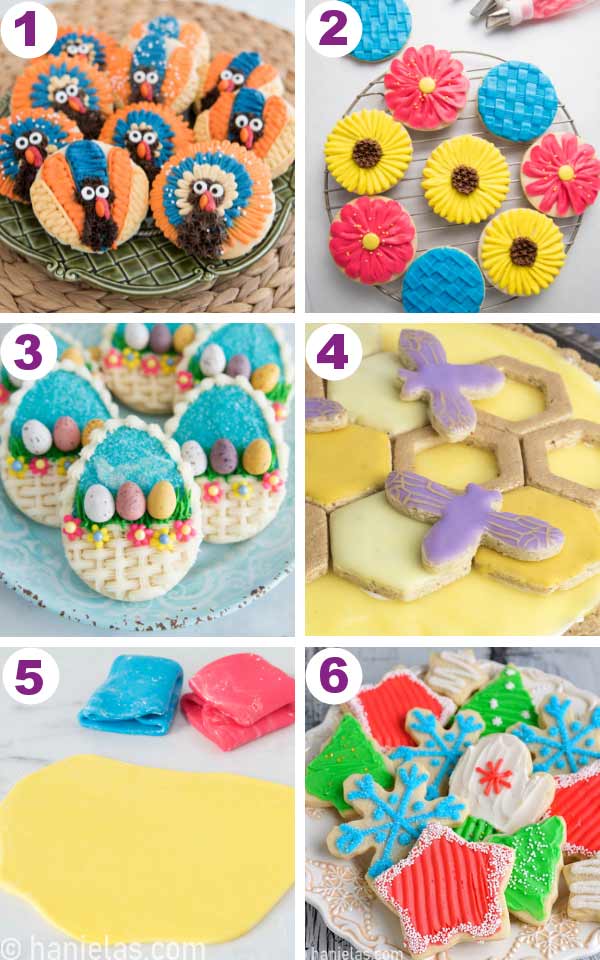
- American Buttercream (image 1): this is a classic. This buttercream crusts, but not enough to package the cookies individually.
- Crusting Buttercream Frosting (images 2-3): hybrid buttercream for decorated cookies. This frosting dries enough to package cookies individually.
- Glaze Icing (image 4): This icing contains no eggs and doesn’t dry hard like royal icing. It’s more elastic than traditional royal icing. You can’t use it as cement to build gingerbread houses or pipe flowers.
- Marshmallow Fondant (image 5): This icing is similar to play dough; you need to roll it out. Try my small batch; homemade marshmallow fondant is so tasty.
- Old-Fashioned Crusting Buttercream (image 6): made with melted butter.
ACCENT COOKIE DECORATING MEDIUMS
- Modeling chocolate: is excellent for small decorations. My friend Amber of Sweet Ambs made beautiful cookies decorated with modeling chocolate accents.
- Frosting sheets (image 1): Premade frosting sheets can be stamped, written on with edible markers, painted, or airbrushed. They can also be cut into decorative shapes using craft punches.
- Edible lace (image 2)- This delicate lace can be used to decorate cookies. How do you make SugarVeil Lace?
- Wafer paper (images 3-4) – Edible paper you can use to make wafer flowers and decorations.
- Rice paper
- Sprinkles
- Sanding sugar
- Fine cookie crumbs: For making sand, dirt, or cookie moss

Do you want to stay updated about free cookie decorating tutorials, live events, classes, and products? Sign up for Hani’s Cookie Decorating Newsletter.
COOKIE DECORATING TOOLS
You don’t need a giant collection of cookie decorating tools. In 2008, when I started with cookie decorating, I only had sandwich bags and toothpicks. If you want to decorate cookies, start with what you have. Don’t wait till you have resources to get all the tools out there. Gradually, you can build your own ultimate toolbox, based on what you need and actually use. To start, you need baked cookies, prepared royal icing, piping bags (sandwich bags), and a toothpick.
Cookie decorating starter kit
- Essential Decorating Tools
- Traditional piping bags or Tipless Piping Bags: you can start with tipless piping bags or even sandwich bags (I love Walmart Brand).
- Toothpick, Scribe Needle Tool / Boo Boo Stick: You can start with a toothpick; even a turkey lacer works.
- Food Colors: Use concentrated gel colors. I like to use Americolor Brand, Chefmaster.
- Spatulas & Bowls: for coloring and mixing.
- Piping Tips & Couplers: Evergreen piping tips include: Petal tips #101, #102, #103, leaf tip #352 (but you can make a leaf without a piping tip, too), star tip #14, #16, #18.
- A spray Bottle or a Dropper: a great tool for helping you master royal icing consistency
- Wax paper, Parchment, Food Wrap
- Optional Decorating Tools
- Edible Markers
- Paint Brushes: These can handle many different tasks, but you don’t need them to get started. Always use food-safe paintbrushes that have never been used with non-edible materials.
- Turntable
- Palette Knives
- Dehydrator
- Airbrush
- Projector
- Specialty piping tips
- Stencils
- Edible dusts: luster, petal, and glitter dusts
- Baking and Mixing Tools
- Mixing Bowls
- Handheld Mixer
- Kitchen Scale/Measuring Cups and Spoons
- Food Wrap
- A rolling pin and rolling guides are needed to roll cookie dough evenly. You can use cheap 1/4-inch wood rods from the lumber yard.
- An offset wide cookie spatula is great for transferring cookies onto a cooling rack
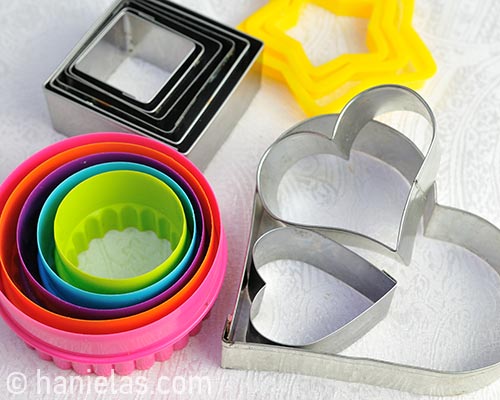
- Cookie Cutters: Start with cookie cutter evergreen shapes: circle, heart, star, flower, bell, square, egg, tree, cupcake, candy-corn, plaque, butterfly, car, bird, fish, snowman, bear, pumpkin, leaf, hexagon, snowflake, oval, bunny, strawberry, gingerbread person, ornament, shirt, present, balloon, geometric mini set, or make your own templates
- Light Colored Baking Sheets, rimmed or rimless (I’ve been using USA Pan brand since 2012 and I love their baking sheets & baking pans)
- Parchment Paper or Perforated Mats
- Cookie Offset Spatula
- Cooling Racks – I love stackable ones!
Difference between traditional and tipless bag
Traditional piping bags (plastic, silicone, canvas)
Require piping tips; they are thicker, easily reusable/washable, and heavier-duty (they don’t burst under pressure easily), making them a perfect choice for stiff buttercreams, thick doughs, and piping thick royal icing (think ruffles, stars, roses).
Tipless piping bags (vary in thickness, from thin to thick)
I use these all the time! They are great for cookie decorating, as you can use them for outlining, flooding, and piped details without a piping tip. However, if needed, you can also fit them with a piping tip. Sometimes you can come across tipless piping bags that are too thin or low quality; they can tear or burst under too much pressure. When using a thin piping bag with thick icing, either double the bag, switch to a thicker tipless bag, or use a traditional piping bag.
HOW TO START THE FIRST PROJECT
- Follow a step-by-step tutorial that uses simple shapes and basic techniques. Too many techniques can be overwhelming. Focus on getting the basics right.
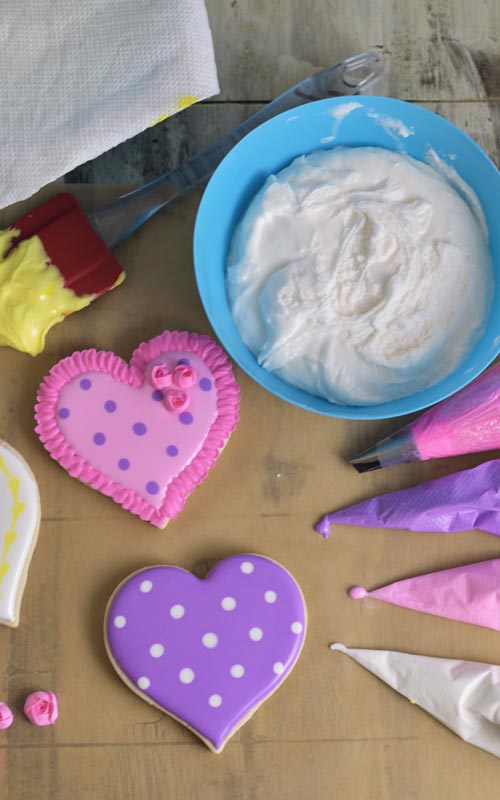
- What design should you create? I highly recommend wet-on-wet decorating technique: polka dot, piping lines and learning how icing behaves when you drag the piping tip thru it to make hearts or create eye-catching marbled/feathered patterns.
- Bake cookies.
- Prepare royal icing.
- Color icing; choose one to 3-4 colors for your first project. Using too many colors can be overwhelming.
- Prepare the consistency needed for the project. For your 1st project, focus on achieving the correct flood and piping consistency.
- Fill the piping bags.
- Practice piping using guides.
- Decorate your cookies and follow the beginner tutorial instruction.
