Royal Icing Butterflies
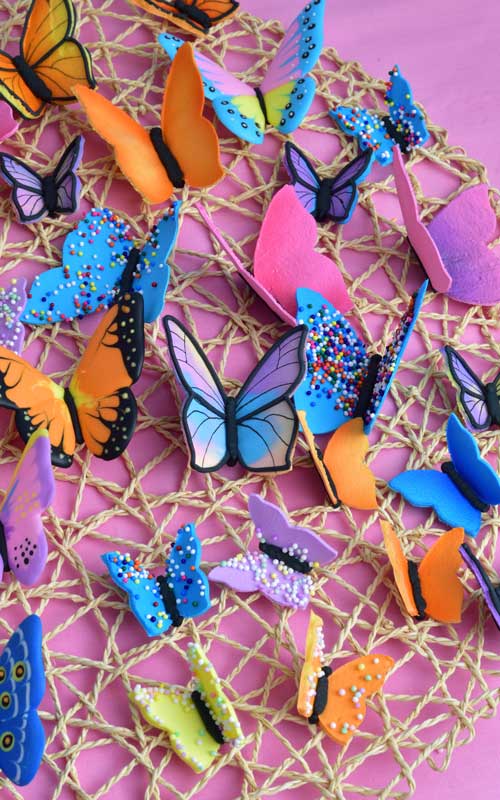
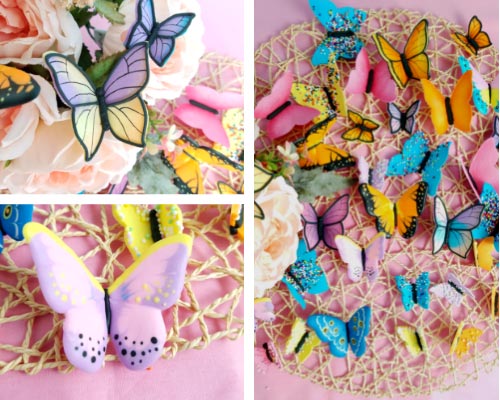
Inspired by our visit to a butterfly conservatory I created beautiful DIY Royal Icing Butterflies.

Updated post from 2010
HOW TO MAKE ROYAL ICING BUTTERFLIES
Today I’m going to share 2 techniques for creating stunning Royal Icing Butterflies.
Butterflies are a little magic of nature. Few years back we visited butterfly conservatory at White River Gardens at Indianapolis Zoo. Each year from March to September Hilbert Conservatory is filled with free flying butterflies.
Inspired by our visit to conservatory I decided to create a DIY Royal Icing Butterflies tutorial. These butterflies can be as simple or as detailed as you wish. Solid or piped into a lace.
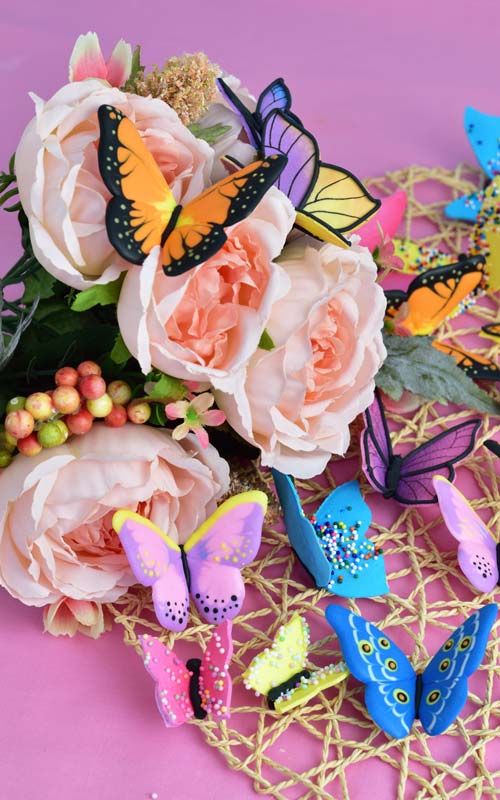
PIPED ROYAL ICING BUTTERFLIES
This method requires piping of the wings. With this technique you can create wet on wet designs. These can be particularly beautiful and very life like.
Or if you wish you can pipe lace designs, too. These butterflies are however very fragile so if you do so, make sure to pipe a few more. Just in case some break.

PIPE THE WINGS
- Place a piece of wax paper or parchment paper over the template.
- Using 15 second consistency royal icing pipe the wings.
- Let top wings crust before adding the bottom wings. Dry completely.
- When moving butterflies from work surface onto a tray, especially if icing hasn’t fully dried yet, use a flat spatula to transfer butterflies. This helps to fight hairline icing cracks.
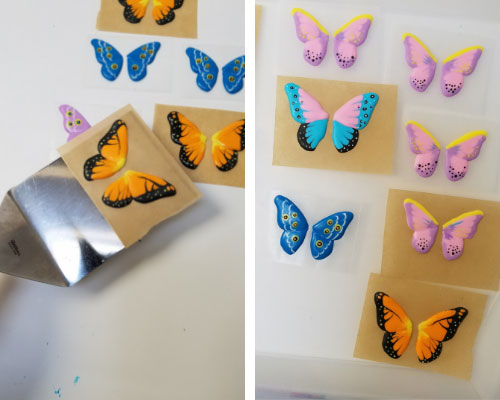
SHAPE THE BUTTERFLIES
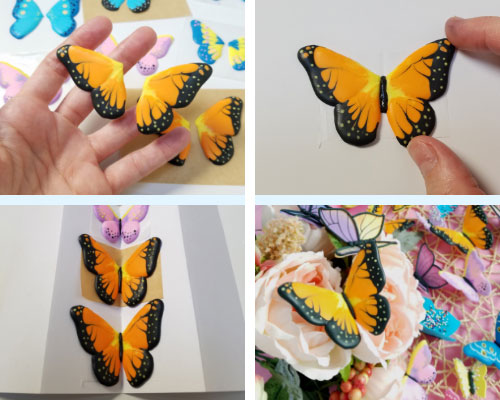
- Form a drying tray. Fold a cardstock paper in half, then fold each half in half again. Shape a zic zac profile. Control the angle of the wings by pulling the ends of the paper tray apart or closer together.

- Remove the wings from the backing paper. If using parchment paper wings usually slide from the paper really easily. With wax paper I find you have to peel off the sheet to release the wings.
- Cut the paper you have left in half and fold each piece half. Using smaller pieces of paper allows you to fit more butterflies onto the drying tray.
- Pipe a body with black royal icing onto the crease. Attach wings and transfer to a drying tray. Let dry for at least 3 hours or overnight.
- If desired you can pipe another layer of the body on top of initial black body.
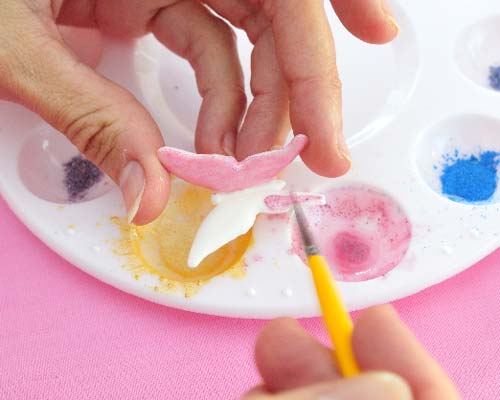
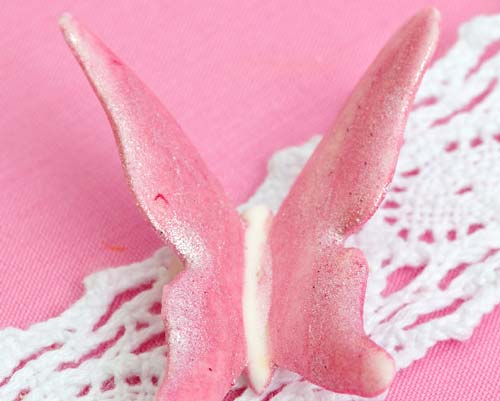
PAINTING WITH LUSTER DUST
Use luster dust mixed with lemon extract and paint dry butterfly wings. What is Luster Dust?

STENCILING ROYAL ICING BUTTERFLIES
Stenciling technique is very efficient. Especially if you are short on time, I’d definitely recommend using method. You can make dozens of butterflies in a very short time.
One drawback is that you can’t produce wet on wet designs. The lack of wet on wet designs doesn’t make them any less beautiful.
Instead can airbrush, draw with edible markers, pipe swirls or use pretty sprinkles.
BUTTERFLY STENCIL
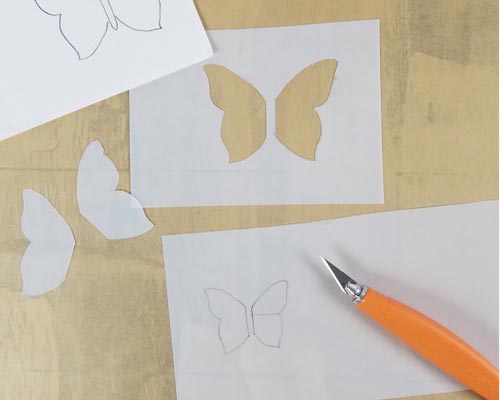
I use stencil blanks to create my stencil. Trace the butterfly outline onto the stencil blank and then with exacto knife I cut it out. I use Mylar Stencil Sheets. Make sure to cut the stencil out on a cutting board to protect your work surface.
ROYAL ICING CONSISTENCY
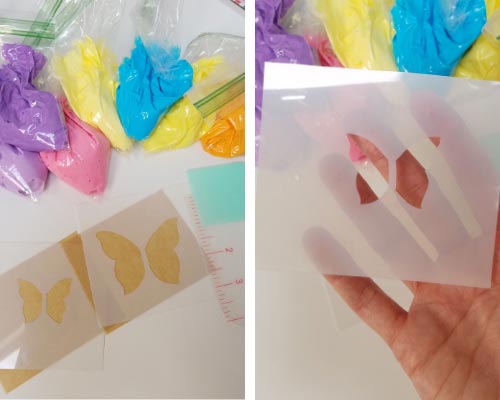
When stenciling with royal icing it is important to use stiff royal icing.
I use my favorite Fresh Lemon Royal Icing(using a meringue powder). If you can’t get meringue powder you can also use Liquid Egg White or Fresh Eggs to make Royal Icing. Both recipes are covered in my Royal Icing Recipes post.
STENCILED BUTTERFLIES
- Place the stencil on top of the wax paper or parchment paper square
- Spread stiff icing onto a spatula or a spreader.
- Then holding the stencil in place spread the icing over the stencil.
- Smooth the top, keep a little room between the stencil and the spreader so icing layer is not super thin.
- Carefully lift up the stencil.
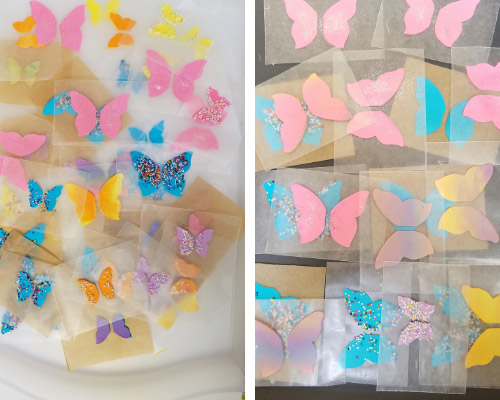
- Dust the wings with Edible Jewel Dust. Or use sprinkles instead. They are so fun! Let dry completely.


MARBLING
Create fun marbled designs. Use 2 or more colors.

DRAWING
I used this technique to create a butterfly decoration on 3D Easter Basket Cookies.
You can either draw directly onto the stenciled side ( it can be little uneven to the touch) or peel of the baking paper and flip the wings upside down. This side is nice and smooth and easier to draw on.

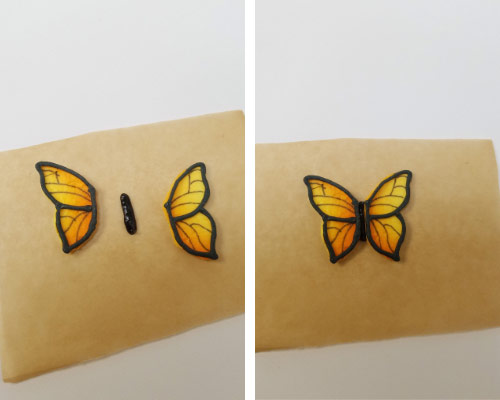
- Use edible marker and draw the lines. Try to not put too much pressure on the wings so they don’t break.
- Then using black piping consistency royal icing outline the wings.
HOW TO SHAPE BUTTERFLIES
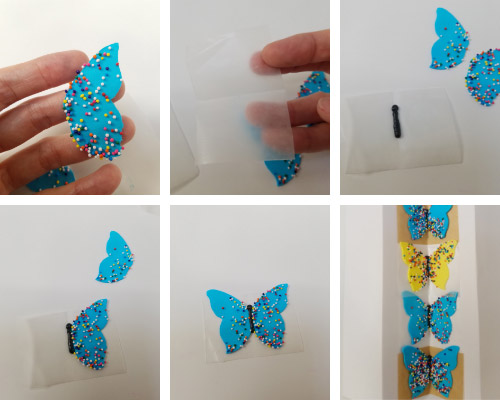
- Peel off the baking wax paper. Cut the paper in half and fold in half.
- Pipe a thick line with black piping consistency on the crease line.
- Attach right and left wings.
- Carefully lift the wax paper and place the butterfly into the prepare shaping/drying tray. Let dry for 3 hours.
- If desired pipe another layer of black body. This step is optional.
AIRBRUSHING
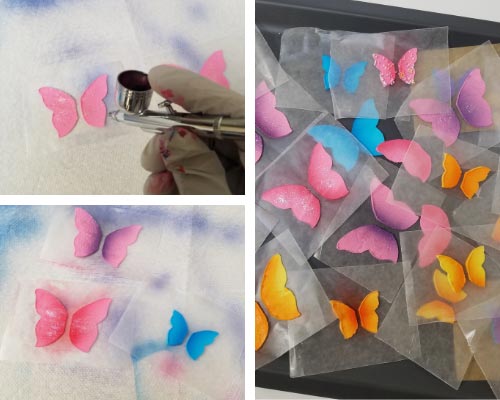
I you have an airbrush, try airbrushing dry wings. It creates quite unique and dramatic effect.
STORAGE
It can be tricky to store royal icing butterflies already shaped, with the wings forming an angle. It is best to store the wings flat.
Royal Icing Butterflies can be made ahead of time. Store royal icing decorations in an airtight container, layered between sheets of paper towel.
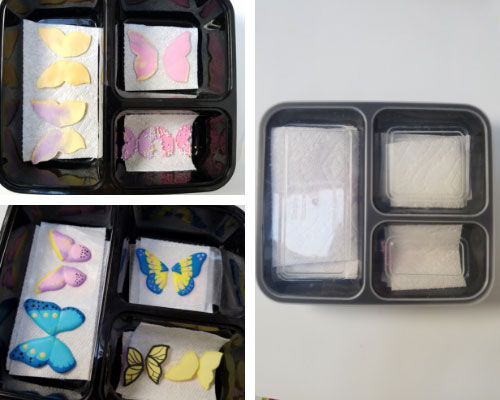
If possible add food grade silica gel pocket to control the moisture, especially if you live in a very humid climate. You can also utilize rice, be sure to replace the rice once in a while.
TO MAKER ROYAL ICING BUTTERFLIES YOU NEED
- RECIPES
- Fresh Royal Icing
- Royal Icing Recipes (using fresh egg whites or liquid egg whites)
- TOOLS
- FIND ALL THE TOOLS IN MY AMAZON SHOP
- Cookie Decorating Tools
- Collection of Edible Markers
- Cookie Making/Baking Tools
- Piping Bags
- Templates
- Needle Tool
- Stencil : Mylar Stencil Blanks, Exacto Knife
- Spreader
- Wax Paper or Parchment Paper squares
- Jewel Dust
- Sprinkles
- Luster Dust
- Lemon Extract
- Dropper
- Food Colors
- Airbrush
- Airbrush Colors
- Edible Pen
- Cardstock : fold to make the drying tray
- Paper Towels
- Spray Bottle : use to dampen towel, it’s easier to wipe the tool into a damp paper towel
ROYAL ICING CONSISTENCIES
- Piped Butterflies
- Use 15 second consistency to make the wing
- Pipe the body and details with piping consistency royal icing
- Stenciled Butterflies
- Use stiff royal icing to stencil the wings
- Pipe the body and details with piping consistency royal icing
MORE BUTTERFLY IDEAS AND TREATS :
- Butterfly Buttercream Cake
- Monarch Butterfly Cookies
- Pretzel Butterflies
- Butterfly Cookies for Beginners
- Fruit Butterfly Pizza
- Wafer Butterfly Cookie Bouquet
This post was originally published in 2010. I updated this post in April 13th, 2019 with new step by step photos, written text and video.
This post containsThis post contains Amazon affiliate links that earn me a small commission, at no cost to you. I only recommend products that I use and love. Learn more about my affiliate policy here.



Hi Haniela, could you use the butterflies to decorate a buttercream cake and survive refrigeration? Thanks!
Yes, I have done so. I’d recommend brushing little bit of melted chocolate on the back of the butterfly to prevent buttercream seeping into the royal icing butterfly.
Just took a really long intensive 😉😉look at your butterflies. Just beautiful! Your photographs are just as beautiful!!!
Thank you June. 🙂
Thank you Chic Cookies for your sweet comment and for linking the tutorial.
Have a great day
So gorgeous! You are crazy talented. I posted a link directing my readers to your tutorial on my column (ediblecrafts.craftgossip.com). Thanks for sharing!
Thank you Ladies, I can't wait to see your royal icing butterflies.
Have a great week.
xox
Love this tutorial Haniela!! Wonderful to learn a new technique to create something so uniquely beautiful 🙂
Your butterflies are beautiful! Such a great idea and thanks for sharing! I never knew such beautiful butterflies can be done using RI!