Raspberry Thumbprint Cookies
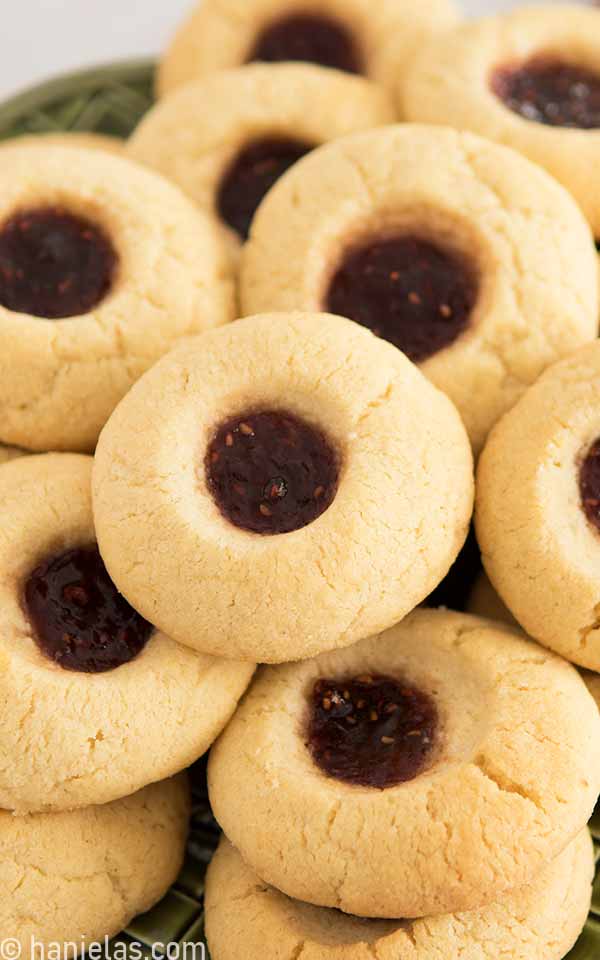
Bursting with raspberry flavor, these tender, buttery raspberry thumbprint cookies are crispy on the outside and chewy on the inside.
updated from 2010
HOW TO MAKE RASPBERRY THUMBPRINT COOKIES
If you need a little pick me up, these homemade jam-filled cookies never disappoint. This recipe can be used to make a variety of different thumbprint cookies. Switch up the fillings and make Nutella or apricot cookies.

INGREDIENTS
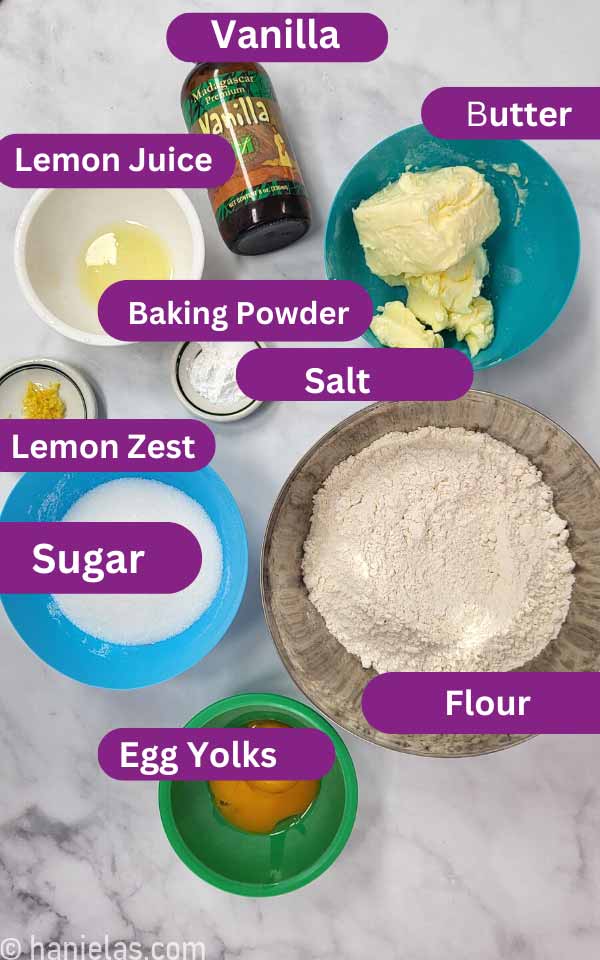
- Butter – make sure to use butter, not margarine.
- Sugar
- Egg Yolks – tender and chewy cookies
- Lemon Zest
- Lemon Juice – from real lemon
- Vanilla Extract
- Flour
- Baking Powder
- Salt
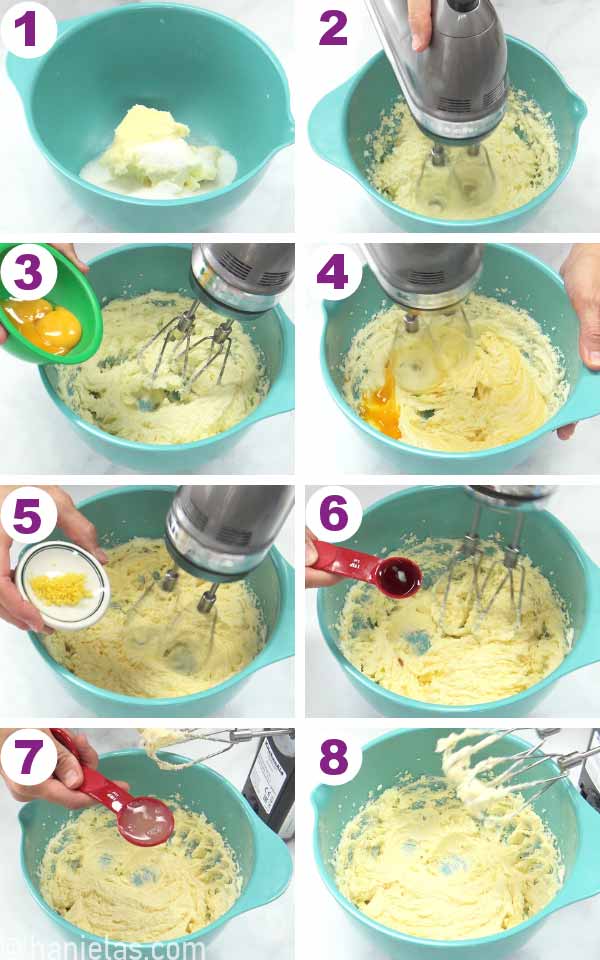
COOKIE DOUGH
Start with room-temperature ingredients.
Cream butter and sugar, and add egg yolks, lemon zest, vanilla, and lemon juice. Lemon and raspberry pair together so well.
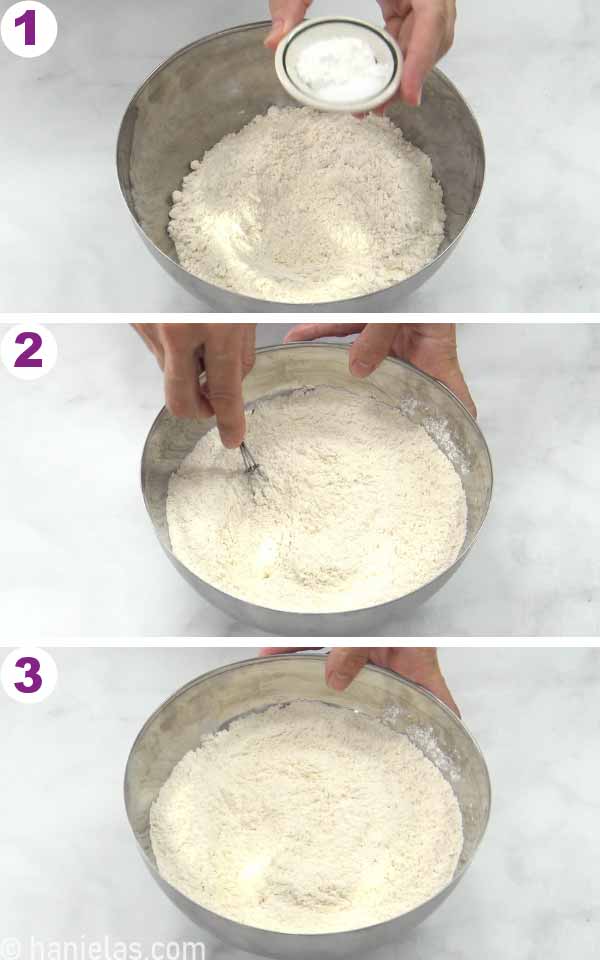
DRY INGREDIENTS
In this recipe I use all-purpose flour, along with some baking powder and salt. If you haven’t baked in a while check the expiration on the baking powder. How to tell if baking powder is still good?
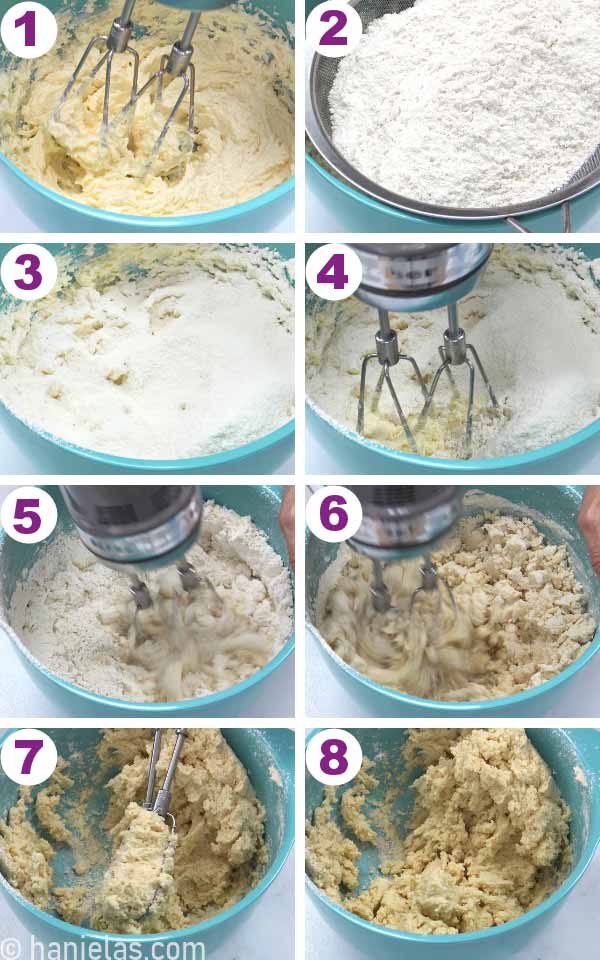
Into the creamed butter mixture gradually, on low speed, add sifted flour mix. Beat the dough just until combined. This cookie dough is soft, similar to cookie dough for peanut butter thumbprint cookies.
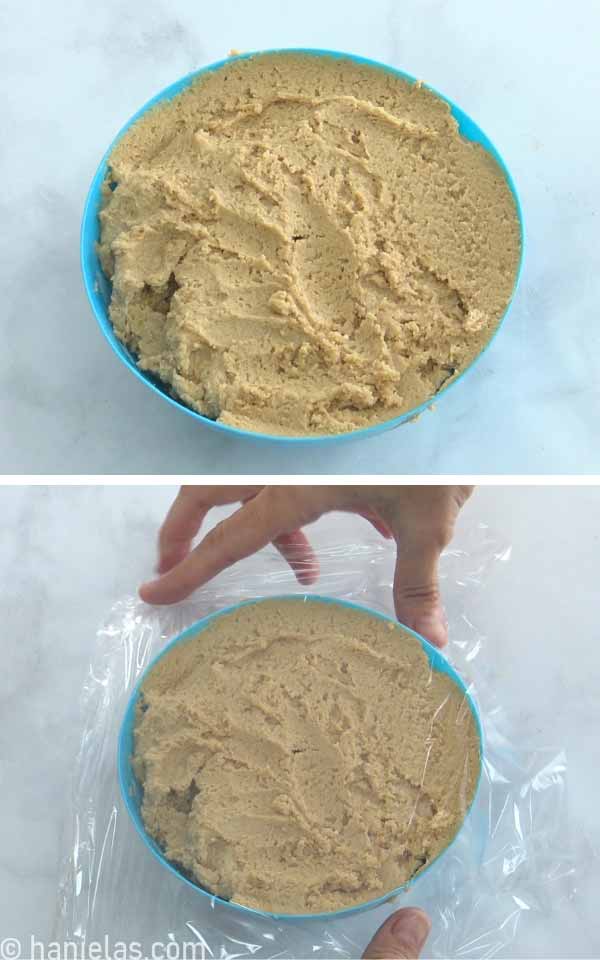
CHILL THE DOUGH
Before you can shape the dough, it’s best to chill it for 30-60 minutes. It makes it easier to scoop it out and shape it into balls.
SHAPE COOKIE DOUGH INTO BALLS
With a cookie scoop or a tablespoon, scoop out mounds of cookie dough onto a tray.
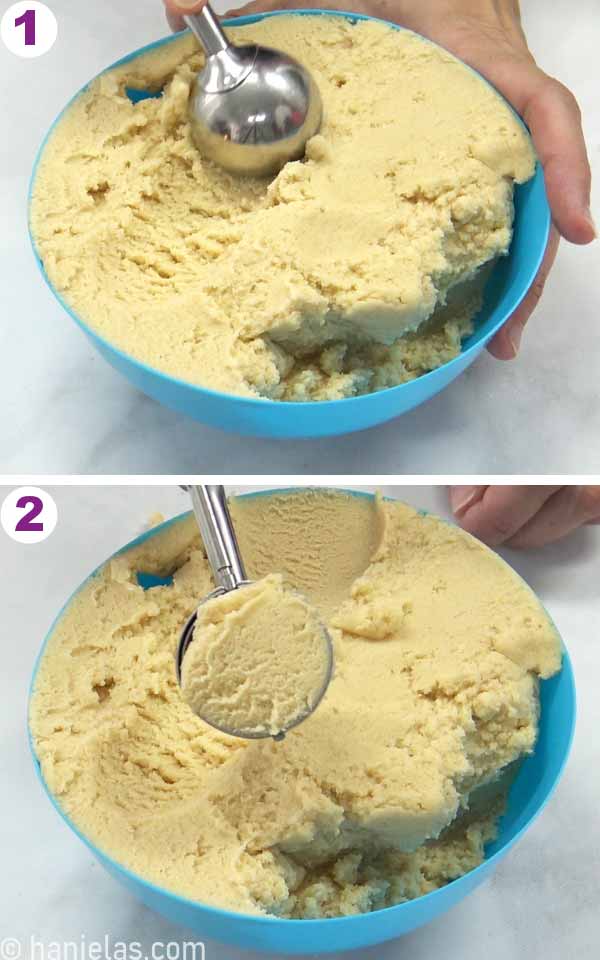
If the dough gets too soft to handle, cover it and stick it in the freezer for 5 minutes.
For nicely-looking thumbprint cookies, shape each piece of dough into a ball.
Transfer cookie balls, about 2 inches apart, onto a baking sheet lined with parchment or silicone baking mat.

HOW TO MAKE THUMBPRINT COOKIES
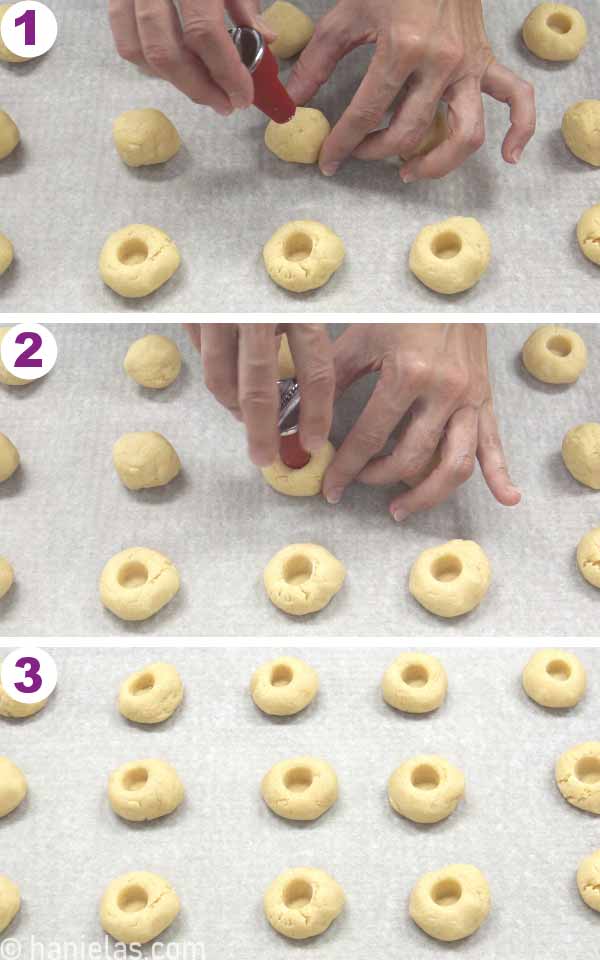
To make the depression in the cookie ball, use a silicone wine stopper. I seldom use the wine stopper for its intended purpose. I found another purpose for it – thumbprint cookies. Push it down the center to make a perfectly round indentation in the cookie ball. If the dough sticks a bit, you can dip the wine stopper in flour or sugar to help with the stickiness.
FILL COOKIES
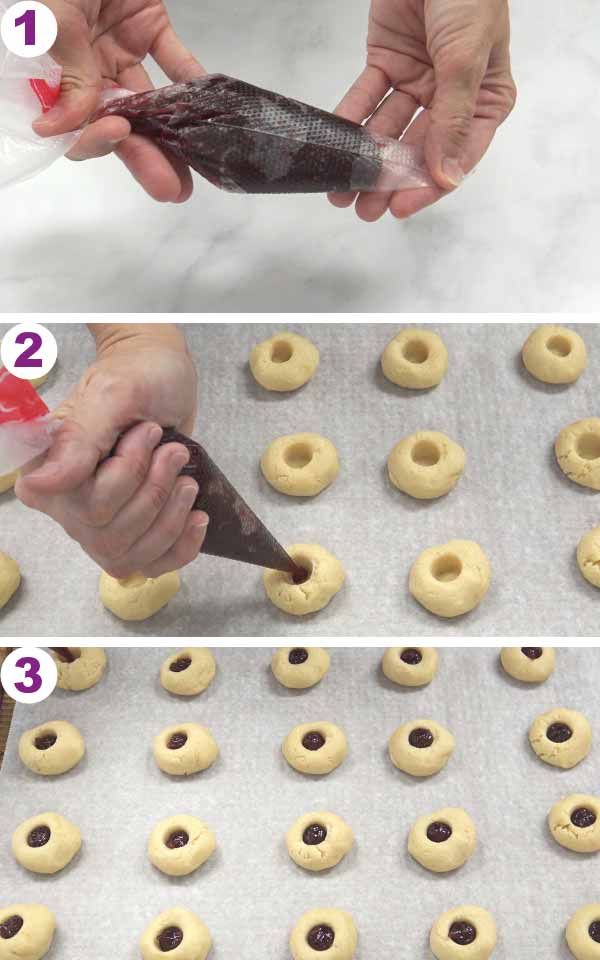
For easier filling, I spooned raspberry jam into a piping bag. Fill each “pothole” with the jam.
BAKE RASPBERY THUMBPRINT COOKIES
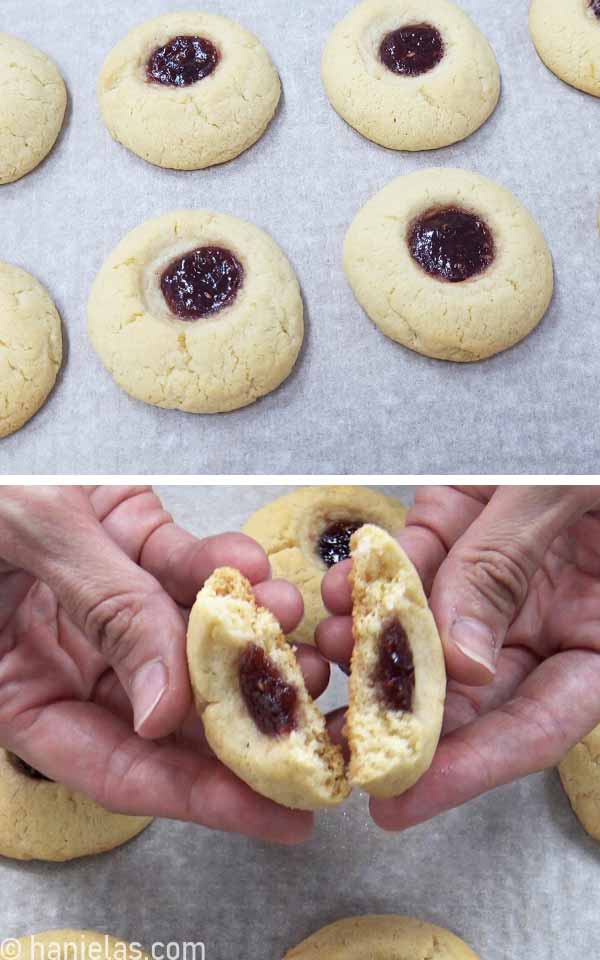
Bake the cookies in the oven at 350F(180C) for 18 minutes, or until lightly golden around the edges.
THUMBPRINT COOKIE VARIATIONS
- Apricot – add ¼ teaspoon cinnamon to the flour, replace raspberry jam with apricot, and omit the lemon zest and lemon juice. Use milk in place of lemon juice.
- Cranberry – omit the lemon zest and lemon juice; in place of both, use orange zest and freshly squeezed orange juice, and add ¼ teaspoon almond extract.
- Nutella Mocha – omit the recipe’s lemon zest and lemon juice. Dissolve 1 tablespoon espresso powder in 1 ½ tablespoon milk and use this in place of lemon juice in the recipe. Bake cookies, and after they cool, fill the “potholes” with Nutella or other hazelnut spread.
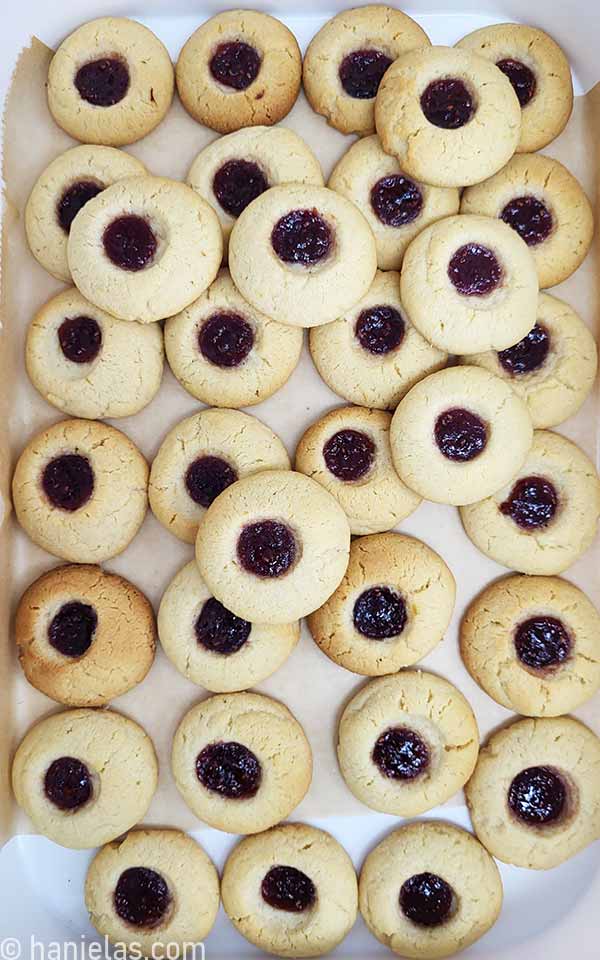
HOW LONG WILL THUMBPRINT COOKIES STAY FRESH?
Cookies are even better a day or two after they are baked.
Stored in an airtight container at room temperature, cookies will last for up to 2 weeks and in the fridge for up 3 weeks. Let chilled cookies come to room temperature before serving.
CAN I FREEZE JAM THUMBPRINT COOKIES?
Yes, freeze cookies for up to 3 months.
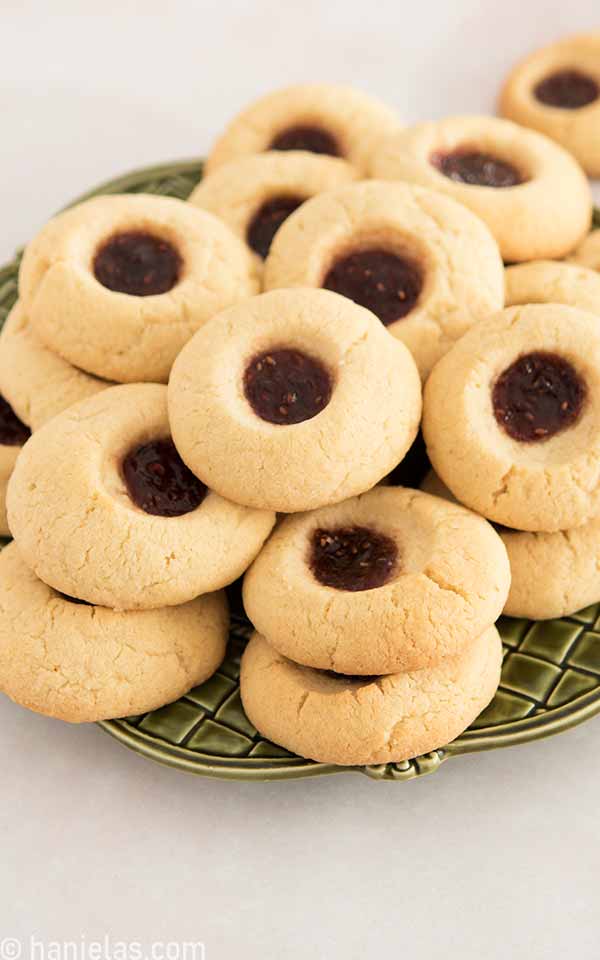
ENJOY THESE EASY COOKIE RECIPES
- Peanut Butter Thumbprint Cookies (great base for criss-cross or blossom peanut butter cookies)
- Double Chocolate Cherry Cookies
- Lofthouse Bakery Style Cookies
- Pumpkin Chocolate Chip Cookies
- Easy Butter Pecan Cookies via Simply Recipes
- Dairy Free Chocolate Chip Cookies
Raspberry Thumbprint Cookies
Ingredients
RASPBERRY LEMON THUMBPRINT COOKIES
Cookie Dough
- 1/2 cup raspberry jam or jelly
- 1 tablespoon Chambord/kirsch/Limoncello (optional)
- 2 1/4 cups all-purpose flour (325grams)
- 1 teaspoon baking powder
- 1/4 teaspoon salt
- 1 cup unsalted, room temperature butter (2 sticks, 226grams)
- 2/3 cup granulated sugar (135 grams)
- 2 large egg yolks (from large eggs)
- 1 tablespoon finely grated lemon zest
- 1 tablespoon fresh lemon juice
- 1 teaspoon pure vanilla extract
Instructions
RASPBERRY LEMON THUMBPRINT COOKIES
Cookie Dough
- Preheat the oven to 350 degrees F. Line 2 baking sheets with parchment paper or silicone baking mats.
- In a small bowl, combine the jam and Chambord/Kirsch/Limoncello (optional). Stir to combine.
- In a medium bowl, combine the flour (2¼ cup, 325grams),baking powder, and salt and whisk to blend.
- Using an electric mixer, beat the butter (1 cup, 2 sticks, 226 grams) and granulated sugar (2/3 cup, 135 grams) in a large bowl until light and creamy, about 3-5 minutes. Beat in the egg yolks (2 egg yolks), lemon zest (1 tablespoon), lemon juice (1 tablespoon), and Vanilla Extract (1 teaspoon). At low speed, add the flour mixture in 2 additions and beat just until moist clumps form. Gather the dough together, cover, and chill for 30-60 minutes.
Fill Cookies and Bake
- Measure the dough with a 1-inch cookie scoop and place it onto a plate. Then roll each dough into a ball and transfer the cookie balls to the prepared baking sheets, spacing them 1 inch apart. Use your floured index finger or 1/2 teaspoon measuring spoon, a lightly oiled wooden handle, or a silicone wine stopper to create depressions in the center of each ball. Fill each indentation with about 1/2 teaspoon of the jam mixture. Bake cookie until lightly golden, about 18 minutes.
- Transfer the cookies to wire racks to cool completely.
Notes
- Apricot – add ¼ teaspoon cinnamon to the flour, replace raspberry jam with apricot, and omit the lemon zest and lemon juice. Use milk in place of lemon juice.
- Cranberry – omit the lemon zest and lemon juice; in place of both, use orange zest and freshly squeezed orange juice, and add ¼ teaspoon almond extract.
- Nutella Mocha – omit the recipe’s lemon zest and lemon juice. Dissolve 1 tablespoon espresso powder in 1 ½ tablespoon milk and use this in place of lemon juice in the recipe. Bake cookies and fill the “potholes” with Nutella or other hazelnut spread after they cool.
This post was originally published on March 30th, 2010. On November 24th, 2022 I updated this post with new step-by-step instructions and written text.


