Canning | Haniela's | Recipes | Side Dishes | Vegetables
Dill Pickles

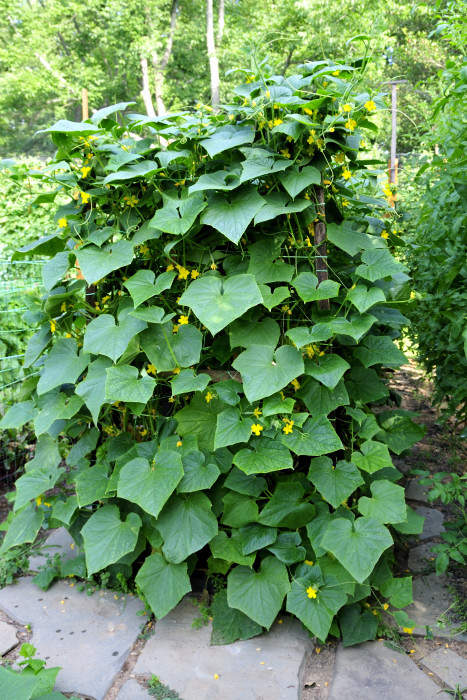
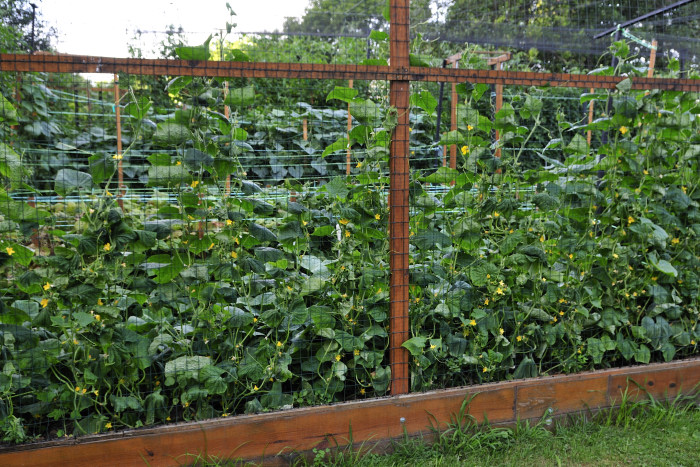
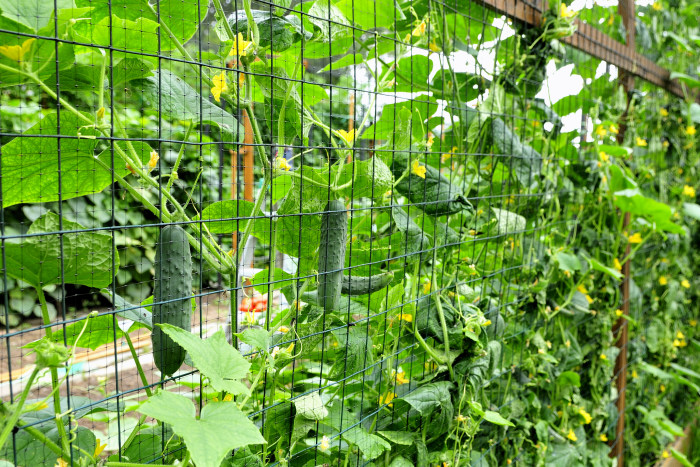
We have been blessed with a bountiful cucumber season this year, I canned over 30 jars, some pint, but most of them quart size.
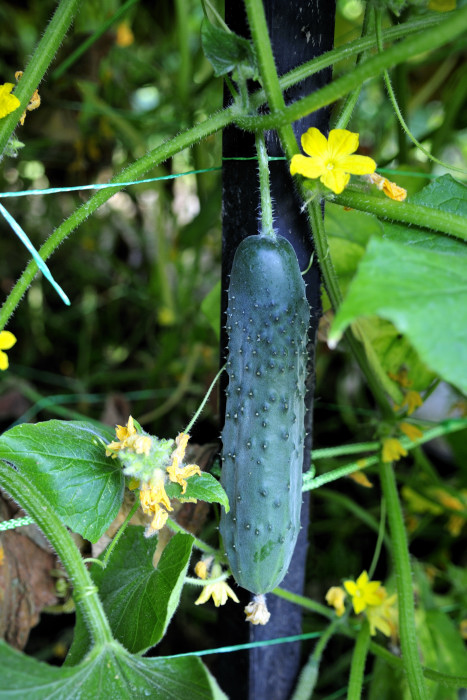
Pickles are fun if you don’t have to pick them. I got you there didn’t I? Let’s just say pickling cucumbers can play hardball. Simply because it can actually hurt to pick them, they have super sharp spikes all over and plant its self is a bit fuzzy too. I wore a t-shirt and shorts only once! Long sleeves are a must when picking pickling cucumbers or you are there for a itchy surprise in the shower. I actually developed rash on my arm from it. Long sleeve is a save way to go.
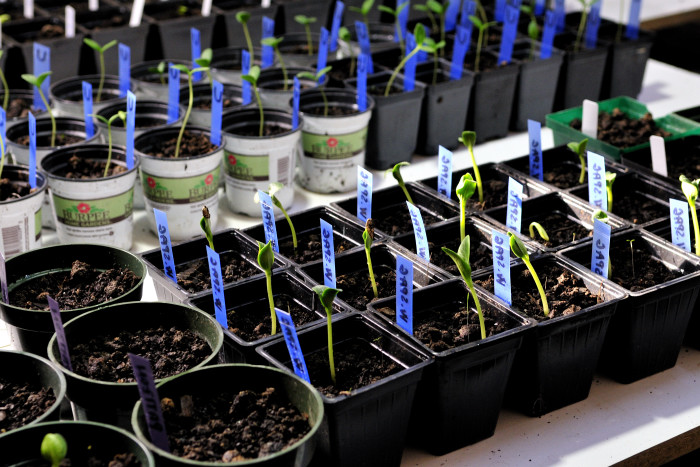
To fill you in on our cucumber plan this year, we have 3 patches of pickling cucumbers and one patch of salad cucumber(no spikes, skin is smooth) Reason we planted so many was influenced by previous unsuccessful cucumber years. Previous years most of the cucumbers would die because of the cucumber beetle you know that little yellow/black striped bug. And no it is not cute. There is not much you can do about them. Well until my darling found new cucumber seeds.They are suppose to be cucumber bug resistant. Of course we bought them. Only several cucumbers didn’t survive in the process though. With good care and watering our garden produced pounds and pounds of cucumbers this year.


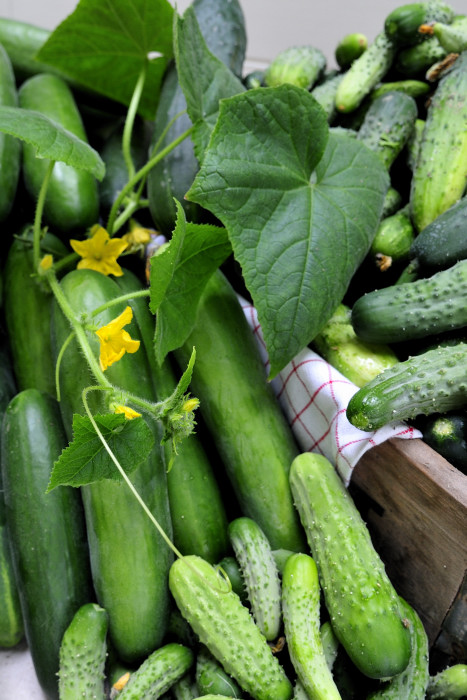
And now finally back to the Pickled Cucumbers. I love pickled cucumbers. I won’t have to buy any for years to come for sure but for those years when I had to buy them, I’d always get Polish Dill Pickles, usually in a specialty store. One time I bought a different brand in a regular grocery store.They tasted like they were drenches in salt. I could never wrap my mind around eating so much salt in one pickle. I threw the whole jar into the trash.
My pickles you can eat straight from the jar, no rinsing required. Flavors are very delicate and that is how I like them.
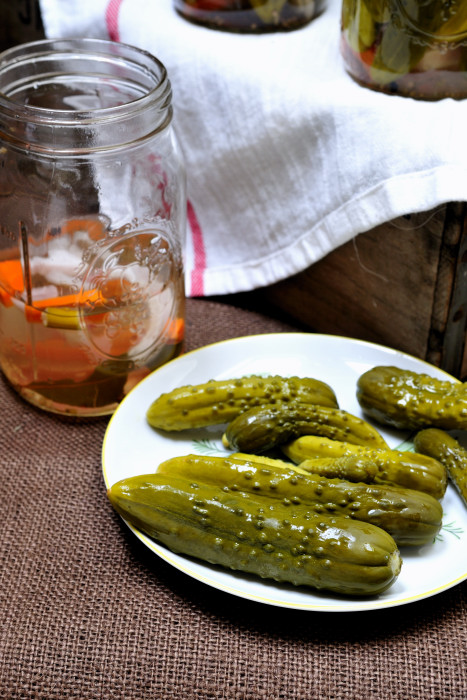
Dill Pickles by Haniela’s
10lb(5kg) small pickling cucumbers
6cups(1.5L) water
3cups(0.75L) vinegar, or to taste
1 1/4 cup(175grams) sugar, or to taste
1/4 cup (70grams) kosher salt, or to taste
1 tsp mustard seeds
3 whole cloves
1tsp coriander seeds
1/4tsp fennel seeds
1tsp whole black pepper
4 pieces of all spice berries
3 bay leaves
Additional Spices to put inside the jars(per 1quart/1L jar): 1 bay leaf, 4 black pepper berries, 1 allspice berry, 1/8tsp mustard seeds, 1/8tsp coriander seeds 1/2fresh dill heads or few dill stalks pieces without leaves, or 1/8tsp dry dill seeds
Vegetables to put inside of each jar :
1cup peeled and thickly sliced carrots
1cup peeled, quartered and sliced onion
garlic(optional)
garlic(optional)
- Scrub the cucumbers in cold water. I use a small brush. Remove remaining of the flower.Drain and set aside
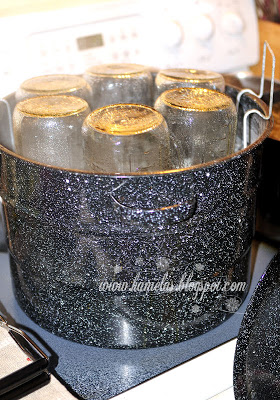
- Wash and sterilize quart jars, have several jars ready, I’d say about 5-7 quart jars. Place wire jar holder/rack into the canning pot securing it on the sides of the pot so it hangs in the pot, pour water into the pot so it is not touching the wire rack. Place washed jars upside down(mouth facing bottom of the pot), cover pot with a lid and bring to boil/simmer. Sterilize for 15 minutes.
- Sterilize lids in the simmering water for 15 minutes
- While your jars are getting ready, prepare pickling solution, pour all the ingredients up to bay leaves on the ingredients’ list (not carrots and onions) into one pot, stir well, bring to boil, simmer for 10 minutes
- In the meantime prepare your work surface, it is best to fill jars close the stove, and close to the canning pot so you don’t have to transfer filled jars across the room. Protect work station with an old kitchen towel, have canning funnel, canning thongs, regular metal thongs, clean towel, sliced onion and carrots, fresh dill heads spices ready.
- Once your jars are ready, take them out of the canning pot( don’t remove pot from the stove, keep the water boiling), place them onto the work surface. Fill each jar with a few pieces of carrots and onion, add additional spices as listed above in the ingredients’ list.
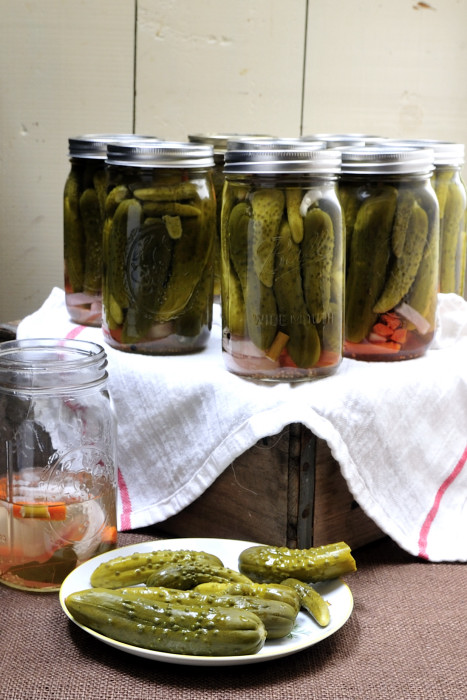
- Fill jars with cleaned pickling cucumber, starting with large ones at the bottom and using the mini/small ones to fill in any gaps .Try to push as many as you can.
- Using canning funnel pour hot pickling solution into to jars, leaving about 1/2-1 inch below the opening. You can now add few more slices of onion or carrots.(optional)
- Wipe the jar opening with a clean towel, place sterilized lid on each jar, screw rings on, not tightly
- Immediately place all the jars into the canning pot and process in the boiling water for -9 minutes. Inside of the jar has to reach 167F(75C), if you see boiling bubbles in the jars, that is is a good sign,it means temperature inside of the jars has reached well over 167F(75C).
- While your jars are being processed in the water bath, prepare a cooling bath. Cooling bath is a trick behind crisp pickles, without any special additive to the pickling solution.Fill about 1/2 or 1/3 of your sink(I have a standard size sink) with warm water, not hot not cold. What you are going to do is temper the jars.
- Once the canning water bath process is done, gently lift each jar from the canning pot and place in into the cooling bath. I’ve broken few jars not being careful enough, so be careful and make sure starting temperature of your cooling bath is not too low.
- Let the jars cool in the cooling bath for 5 minutes, then remove some of the hot water and add some cooler water. Though this process sounds bit labor intensive, it actually works. Keep removing hot water and adding cooler water. Probably 3 more times. Let the Pickles cool in the water completely.
- Remove jars from the cooling bath and store in the dark cool place until ready to consume.
- Once jar is opened, store in the fridge.

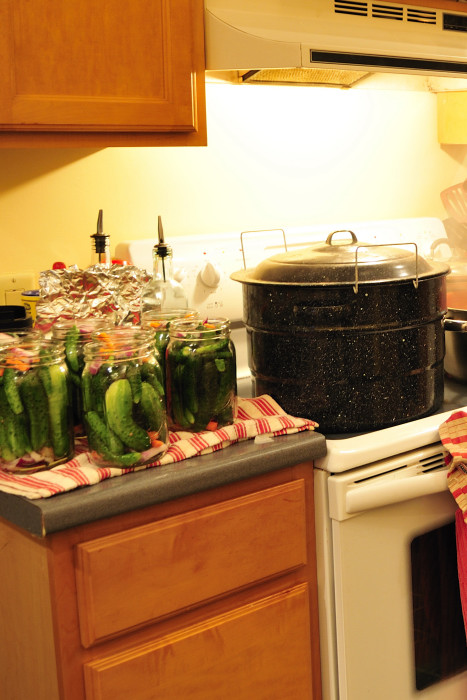 |
| My work station is close to the stove, canning pot is on the right. |

Hi, I’m Hani
Welcome!
Thank you for visiting Haniela’s. On my blog, you’ll find delicious sweet & savory recipes made with simple ingredients. Why not start a new adventure? Discover a world of cookie decorating with my step-by-step tutorials.

Hi, I’m Hani
Welcome!
Thank you for visiting Haniela’s. On my blog, you’ll find delicious sweet & savory recipes made with simple ingredients. Why not start a new adventure? Discover a world of cookie decorating with my step-by-step tutorials.


Hani! I live seeing the gifts of your garden! This is wonderful. I hope to see more canning in the future!