Cookie Pop Stand
I was feeling crafty and made my first cookie pop stand. I’m loving how easy it was to make and I can reuse it for so many occasions. I have another in works, in different colors, something more masculine.
To make a cookie pop stand you need:
piece of wood, I used a plank 13 x 9 inch 1.5inch thick
hand sander, sanding papers
primer, paint, brushes, pick what ever colors you want
drill, drill bit
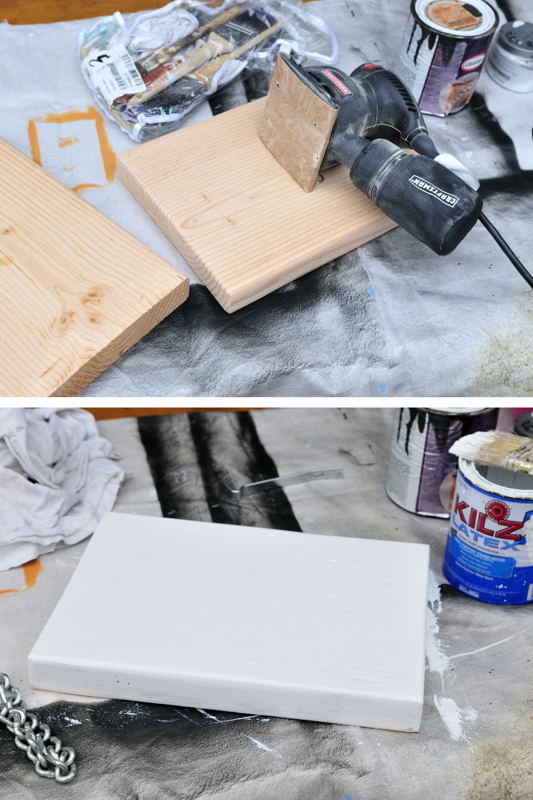
- First I sanded the wood, made the edges little rounder and smoother, dust the piece with a piece cloth to remove sand dust.
- You can now abuse the piece a little with chain, screwdriver and such(optional, good anger management therapy as well, that is if you are angry)
- Paint with primer, let dry. Sand a little. Dust with the cloth.
- I painted the whole piece with black paint, 3 coats. Sand lightly between coats.
- Then I made a template, spacing out the holes 4 inches apart horizontally and then 2 inches in between the rows, making 18 holes.
- Use a nail and a hammer to transfer hole marks onto the wood plank.
- Using a drill and an appropriate drill bit size(find a drill bill – closest match to the diameter of lollipop sticks),drill the holes. I used a standard sewing bobbin for the sleeve to make the holes even depth.
- I painted the piece wit a contrasting color to my black base. I did 2 coats, sanding lightly between. Be careful so you don’t get a lot of paint into the holes.
- Once the top coat was dry I sanded the piece around the edges to give it a light distressed look.
- Paint with a layer or waterbase poly.
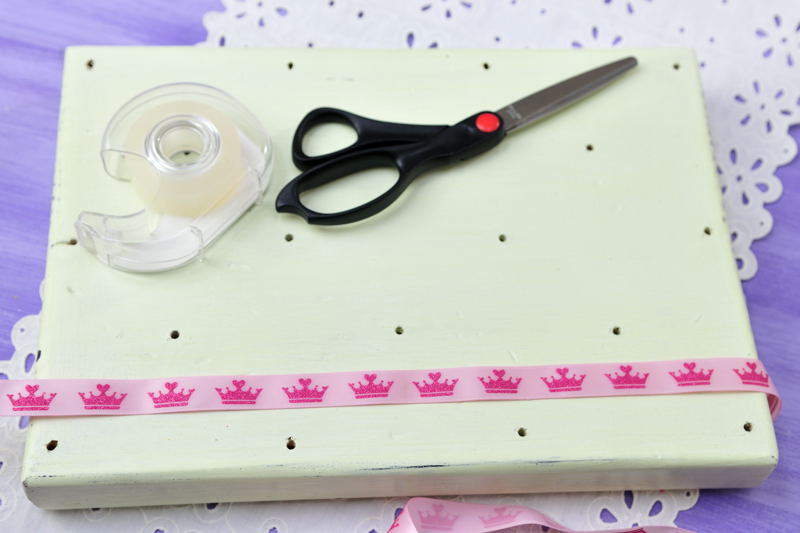
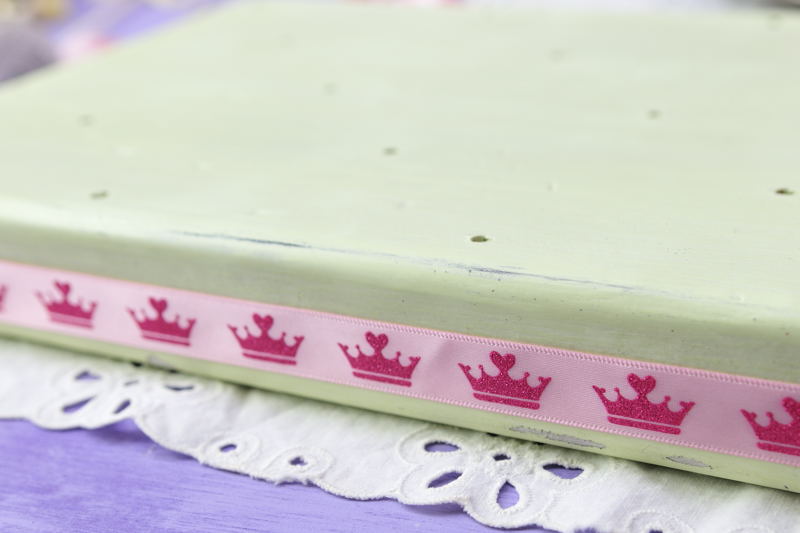
- You can decorate your cookie pop stand with a pretty ribbon, simply attach ribbon onto the stand using double sided tape. Replace ribbon for different occasions.

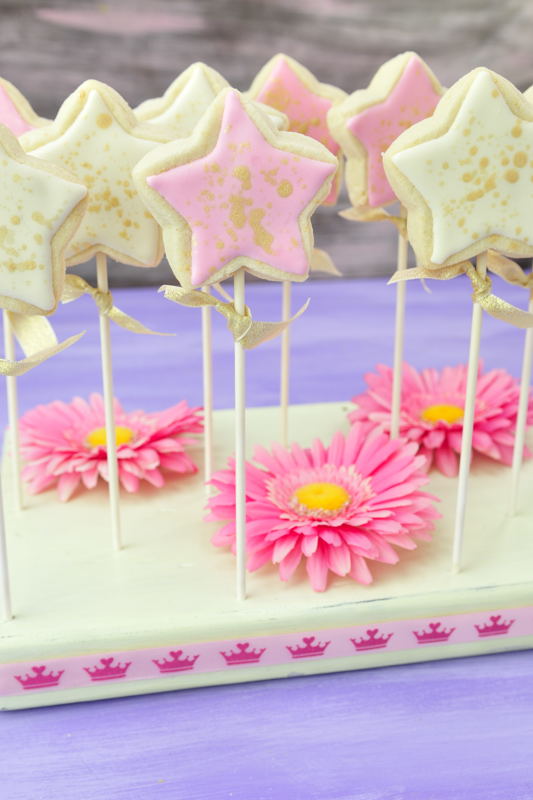
You can add a little flare to the stand using a ribbon or pretty flowers.
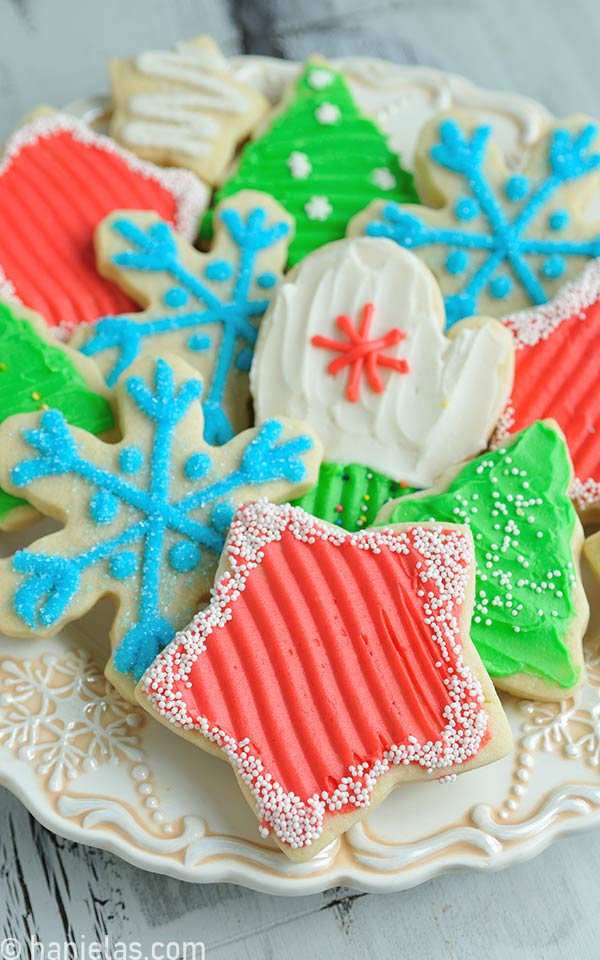
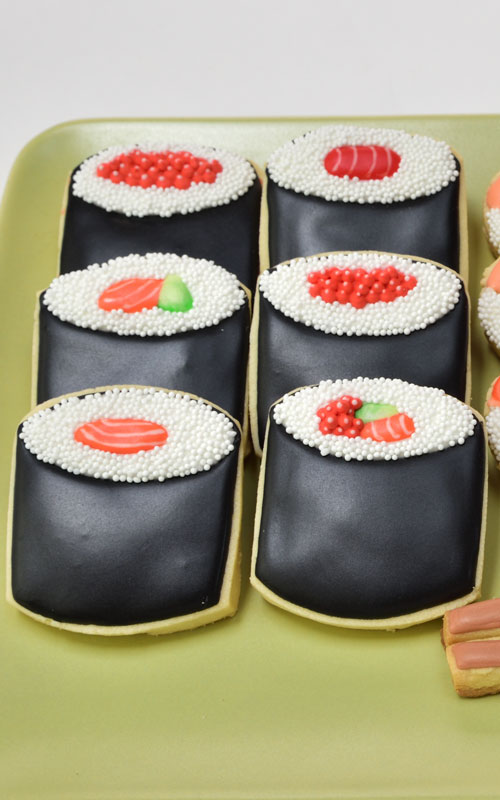
This is what the Cookie Pop Stand looks like with cookie pops. Pretty isn’t it?
Do you want to learn How to make Princess Wand Cookies Pops? Here is an easy to follow tutorial.

Hi, I’m Hani
Welcome!
Thank you for visiting Haniela’s. On my blog, you’ll find delicious sweet & savory recipes made with simple ingredients. Why not start a new adventure? Discover a world of cookie decorating with my step-by-step tutorials.

Hi, I’m Hani
Welcome!
Thank you for visiting Haniela’s. On my blog, you’ll find delicious sweet & savory recipes made with simple ingredients. Why not start a new adventure? Discover a world of cookie decorating with my step-by-step tutorials.