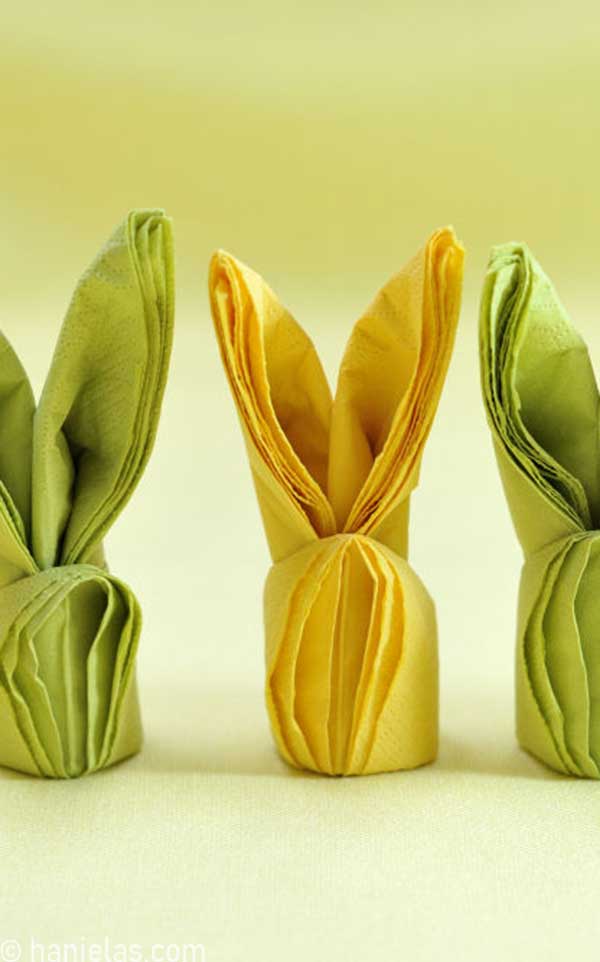
How to Fold Easter Bunny Napkins
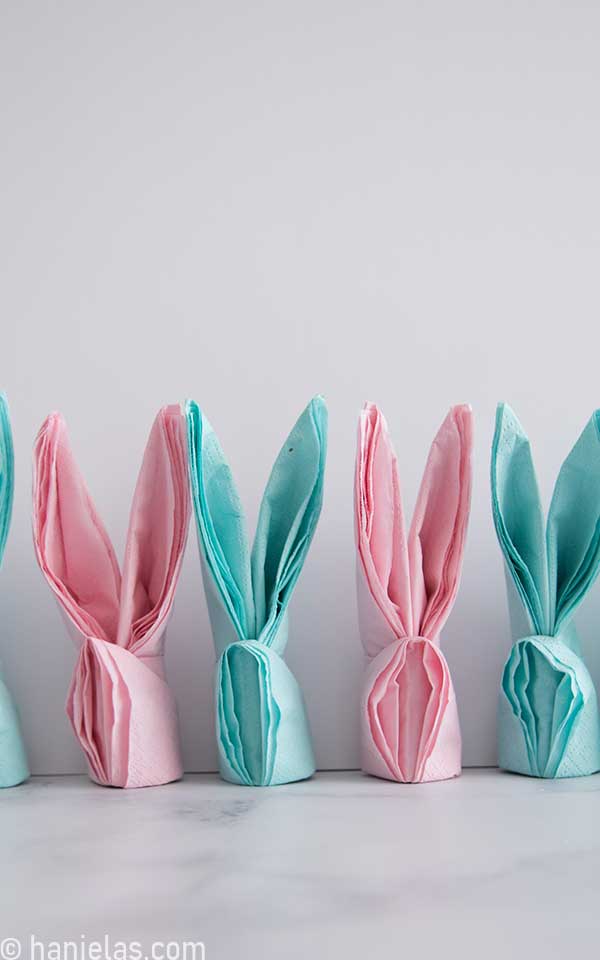
Bunny napkins look so cute as part of the festive tablescape. Have you tried folding one? I’m here to help with my DIY step-by-step bunny napkin folding tutorial.
updated post from 2011
HOW TO MAKE EASTER BUNNY NAPKINS
WHAT KIND OF NAPKINS?
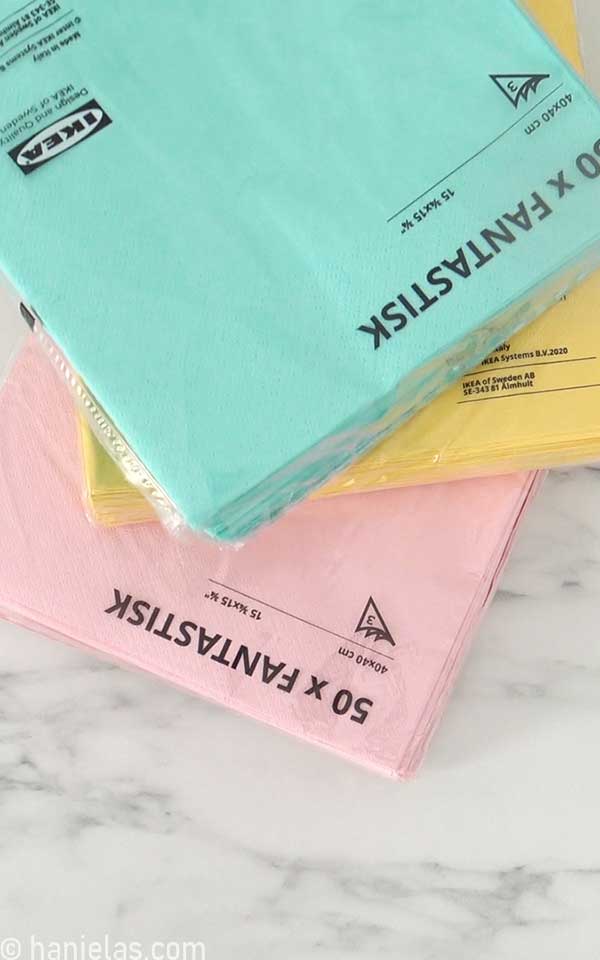
To make adorable bunny napkins, use a square napkin. Today I’m using paper napkins to make bunny napkins. You can also use fabric ones. Just make sure you starch them before. Personally, I think paper napkins are less fussy to use than fabric ones.
- It’s better to use large napkins than smaller ones.
- I used IKEA napkins; fully opened, they measure 40×40 cm (about 16×16 inches).
BUNNY NAPKIN FOLDING TECHNIQUE
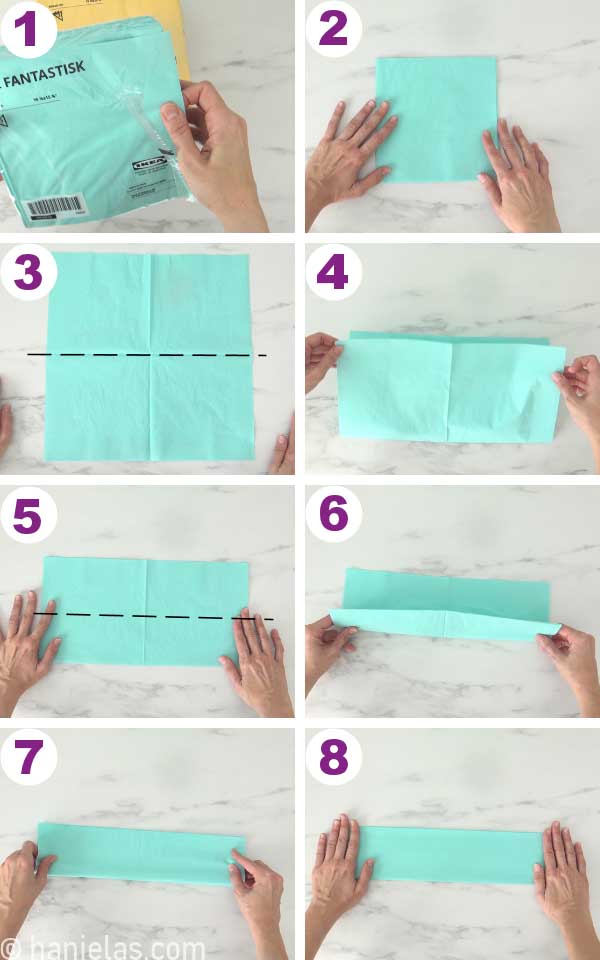
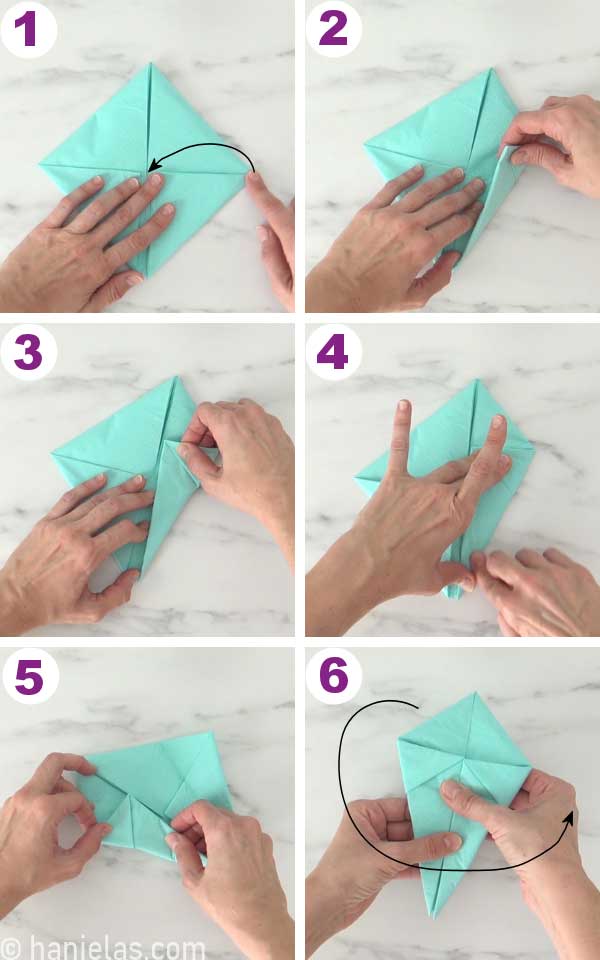
- Open the napkin.
- Fold a fully open napkin in half, with the loose ends facing away from you (steps 1-4).
- Fold the halved napkin in half, and the loose ends should be facing away from you (steps 5-8).
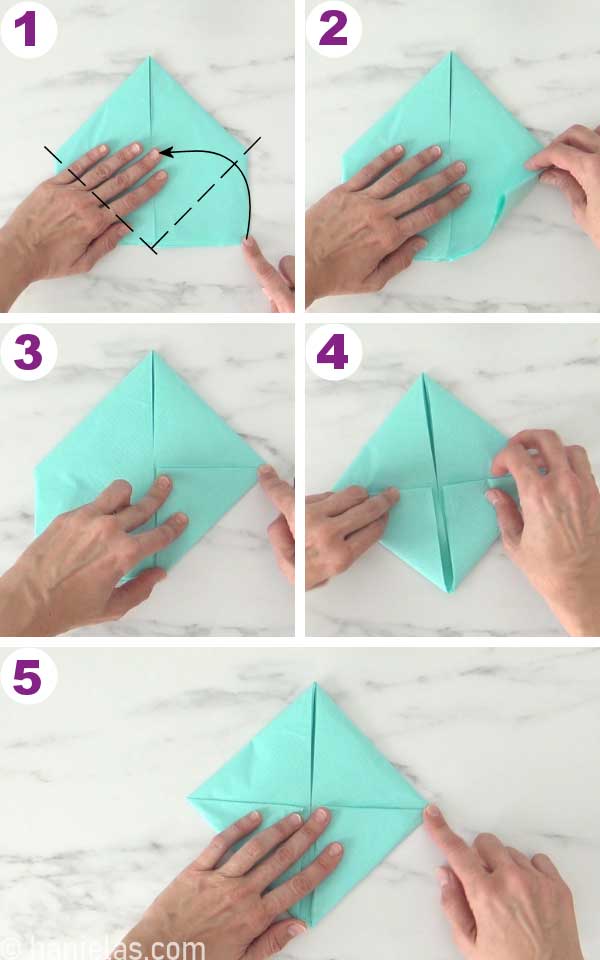
- Find a middle (see dashed line), and fold the right side vertically on a dashed line (steps 1-3).
- Repeat on the left side (steps 4-6).
- Press the folded lines down.

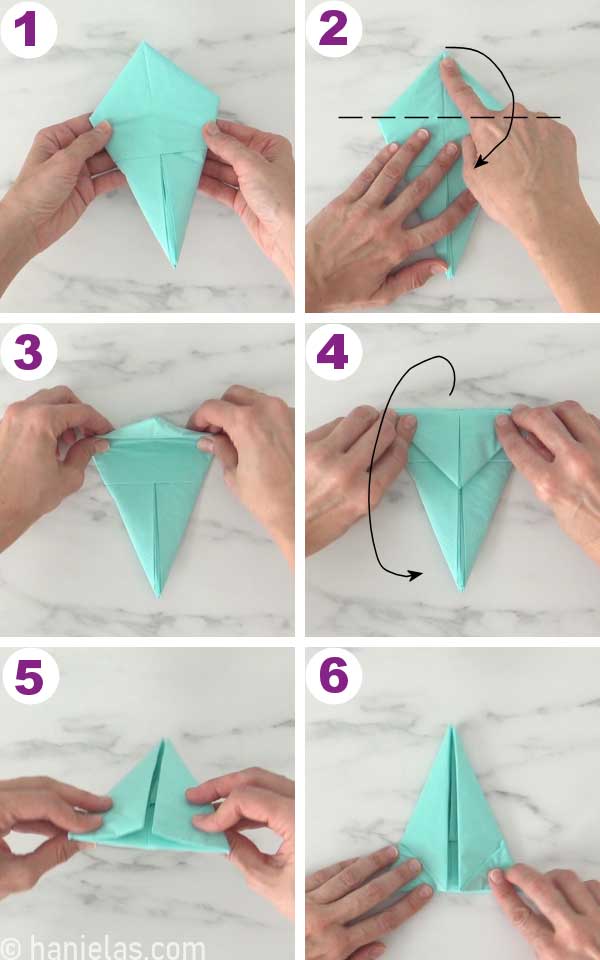
- Take the bottom-right corner and fold it up along a diagonal dashed line. Press the fold down (steps 1-3).
- Repeat on the left side (steps 4-5).
- Now take the right corner and fold it to the centerline.
- Press the fold-down firmly (steps 1-4).
- Repeat on the left side (step 5).
- Turn the napkin upside down (step 6).
- Fold the top point down on a dashed line, and press down firmly (steps 1-4).
- Turn the folded napkin over vertically (steps 4-6).
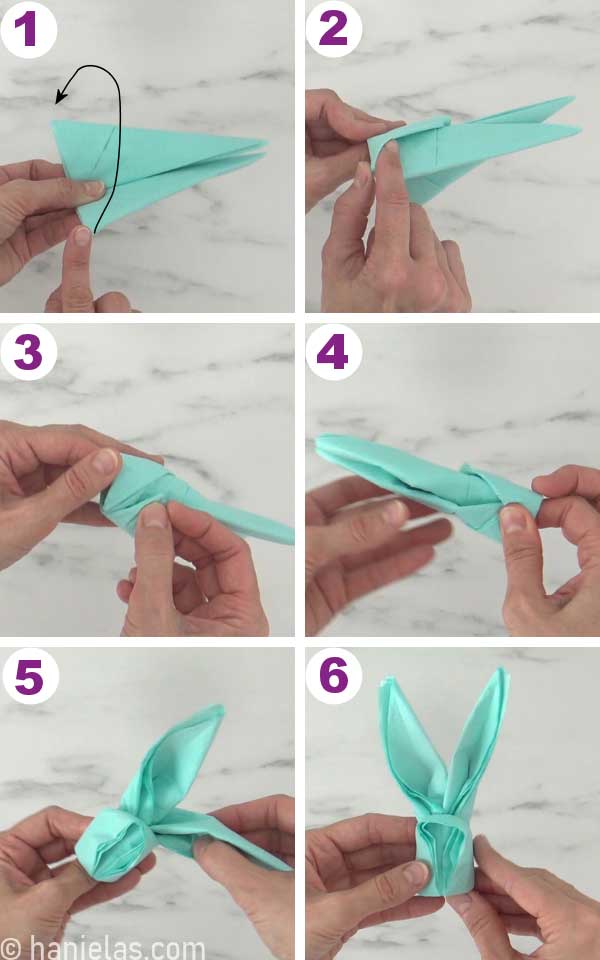
- Here comes the tricky part of the bunny napkin folding technique.
- First, acknowledge the right bottom corner (step 1).
- And then, on the left side, on the underside, find what should look like a little “pocket” (step 2).
- Tuck the right corner into the pocket. Press the connection firmly (steps 3-4).
- Gently open up the rounded base.
- Carefully widen the ears. (steps 5-6).
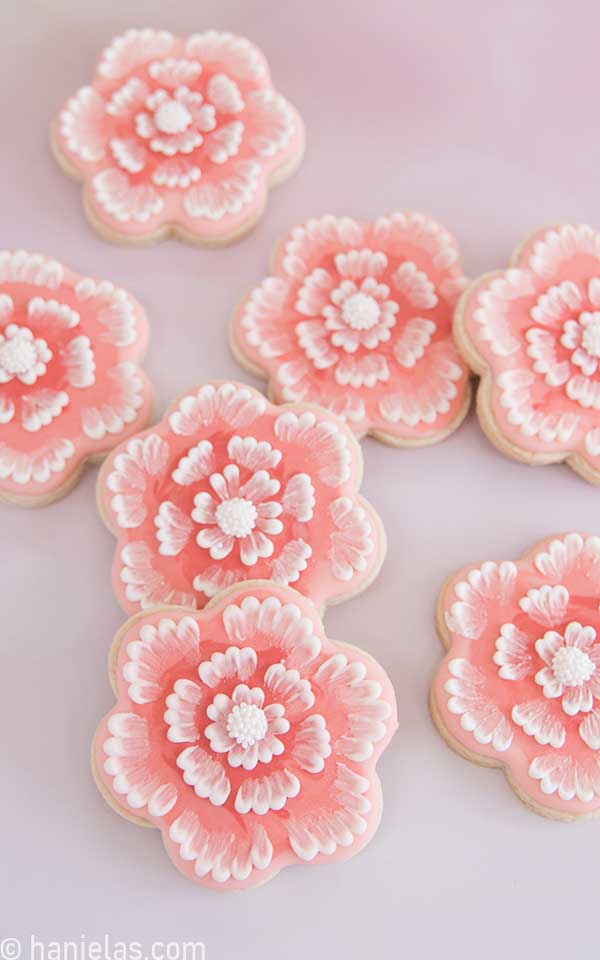
Wouldn’t they look great alongside my Gingham Bunny Cookies?
VIDEO
>MORE NAPKIN FOLDING IDEAS
- MORE NAPKIN FOLDING IDEAS
- Christmas Tree Napkin
- Fleur De Lis Napkin Fold
- Bat Napkin Fold
- Father’s Day T-Shirt Napkin Fold for
This post was originally published on March 24th 2011. On April 11th, 2022, I updated this post with new step-by-step photos and written text.

Hi, I’m Hani
Welcome!
Thank you for visiting Haniela’s. On my blog, you’ll find delicious sweet & savory recipes made with simple ingredients. Why not start a new adventure? Discover a world of cookie decorating with my step-by-step tutorials.

Hi, I’m Hani
Welcome!
Thank you for visiting Haniela’s. On my blog, you’ll find delicious sweet & savory recipes made with simple ingredients. Why not start a new adventure? Discover a world of cookie decorating with my step-by-step tutorials.

Yes I have you booked-marked for Easter! My youngest will love doing these as he loves puzzles. Thanks for sharing this!
Very cute Hani and very creative! Thanks for sharing!
As cute as original !!!
I love these! And I know my boys will love them on the Easter dinner table! Thank you!
These are adorable! I'm going to attempt them:)