Christmas Tree Cookie Winter Scene
This post is sponsored by Wilton and Target . I received free products to create this beautiful Christmas tree cookie scene. All photos, text and opinions are my own.
Are you planning a Christmas Party? Surprise your guests with this pretty edible Christmas Tree Cookie Scene.
Making an edible Christmas Cookie Centerpiece doesn’t have to be complicated. Use your favorite cookie recipe , royal icing, simple cookie cutters shapes and pretty sprinkles to decorate.
To make a Winter Cookie Scene you need :
Winter Mega Sprinkles
Wilton Christmas Sprinkle Assortment
Piping bags
Star Piping Tip
Toothpick or a needle tool
Tweezers
Scissors
Granulated sugar
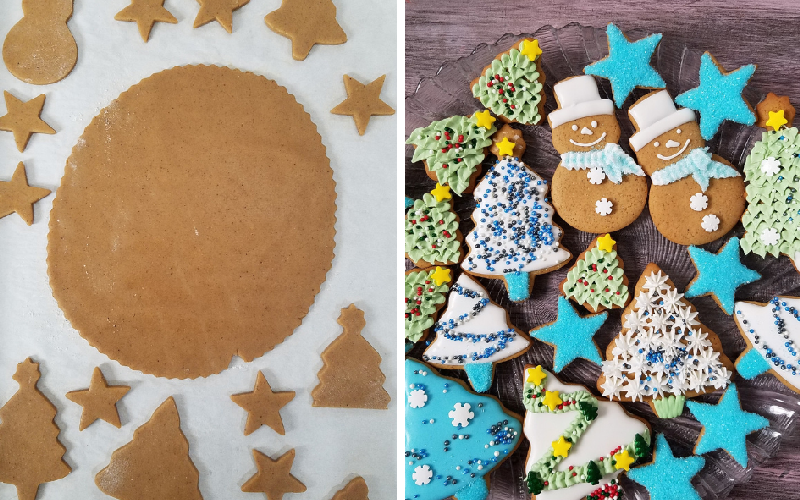
For my centerpiece I used Christmas tree cookies cutters, small star and a snowman cookie cutter and Wilton Christmas Sprinkle Assortment and Winter Mega Sprinkles.
You can pick up all the supplies at Target.
I needed few smaller trees to build my winter scene so I used larger tree cutters to cut out a smaller one.
Here comes the fun part : ice the cookies with 15 second consistency royal icing and then have a bit of fun with a variety of sprinkles.
What is 15 Second Consistency Royal Icing?
Let me explain. To make royal icing more fluid you need to add little bit of water. To add water I use a spray bottle, this helps to eliminate adding too much at once. Make sure you stir royal icing well after each addition. Once you reach 15 second consistency you can test it by running a spatula, knife or a spoon through royal icing. Immediately start counting. Once you see the separation line comes together in about 15 seconds you got your 15 second consistency flood royal icing.
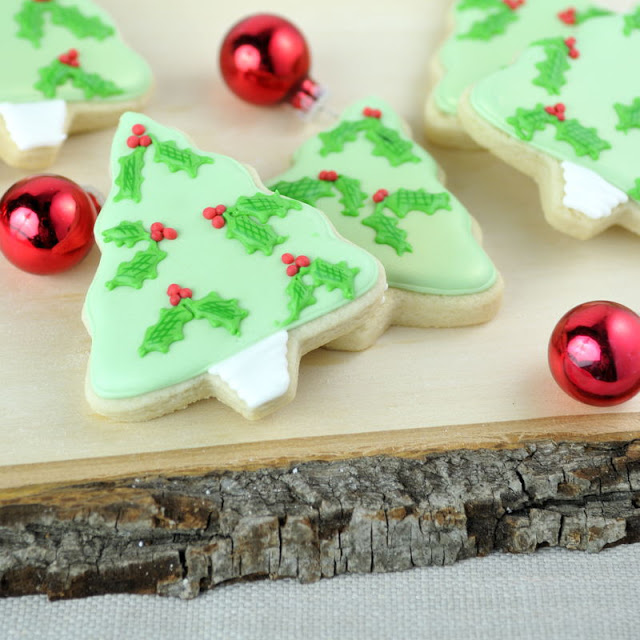
Or use scissors and make a V shape cut on your piping and use green medium stiff consistency and pipe the leaves on the tree cookie. I added the snowflakes and nonpareils as soon as I was finished piping the leaves so the icing didn’t have a chance to crust and sprinkles stick to it.
Alternatively use a star tip and white icing and pipe stars on the cookies or ice the cookies and dust them with pretty blue sanding sugar.
Snowman cookies can be a bit intimidating but not this time around. I used white royal icing medium stiff consistency, using scissors I cut a small V shape opening on the piping bag and I piped the scarf in sections. Then I dusted the scarf with blue sanding sugar. Snowflake sprinkles came in handy I used them to make the buttons and 20 second icing for the eyes, mouth nose and the hat. Wait about 15 minutes before adding the top of the hat. Snowman is now ready.
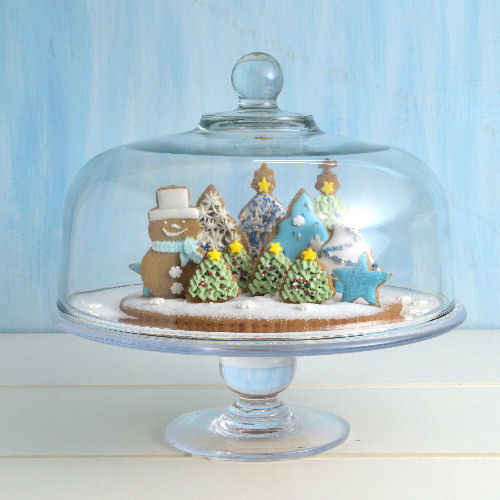
Because I’m creating a cookie scene I need a cookie base to glue the rest of the smaller cookies on. I used a pastry wheel to cut it out. Nothing fancy here. Bake it as usually but for a bit longer, so it bakes through.
Usually I use royal icing to glue the cookies when making edible centerpieces but for this project I decided to use caramel. It’s fast and super effective. What you need to do is melt the granulated sugar just like when making the caramel. Once it’s melted, remove it from the direct heat. Dip the bottom of the cookie in the caramel place it in an upright position on the baked and cooled cookie base. Hold it in place for about 30 seconds or so and repeat with the rest of the cookies, arranging them to your liking. In the process caramel may start to harden in the pan, that’s when you can re-heat it slowly again.
Now it’s time to add the snow. I used white granulated sugar and some white snowflake sprinkles to decorate my cookie centerpiece and my glass cake stand.
Here is a short video showing how to decorate and assemble the cookie centerpiece.
Display cookie scene on a cake stand or cover it with a glass dome if you have one.
Isn’t it pretty!


