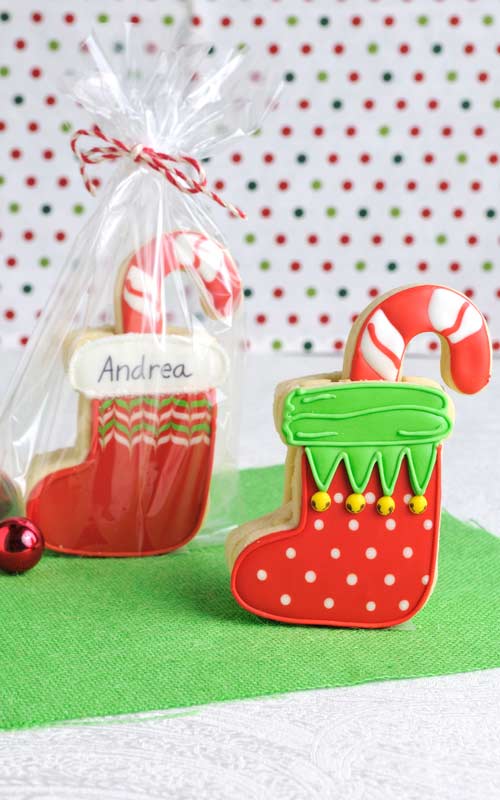
Pug Cookies
Over a year ago our friends bought a friendly Pug with a catchy name “Raider”. Raider has become a member of the family and is very much loved by everyone. He loves to chase squirrels, birds and play with the kids.
This coming weekend Katie and Tyler, my friend’s kids, are celebrating their birthdays together and my friend asked me to me them some cookies. Katie’s been asking me for a very long time to make her pug cookies, and so we both agreed on PUG COOKIES
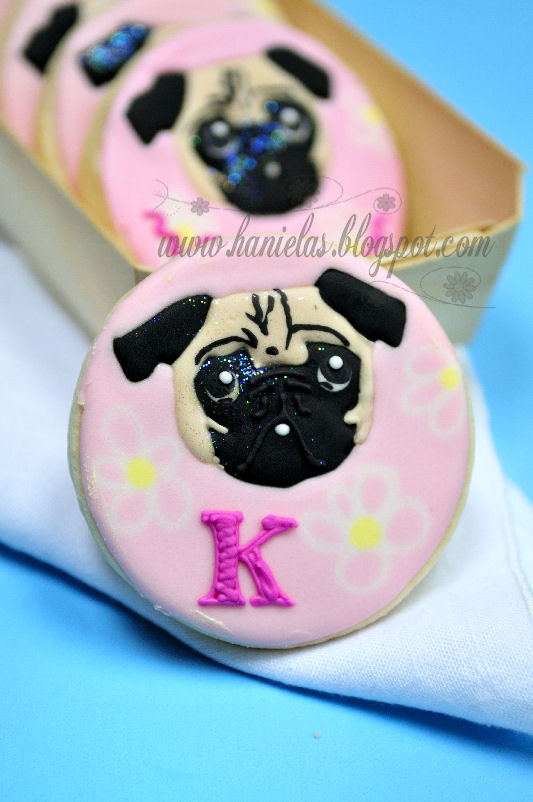
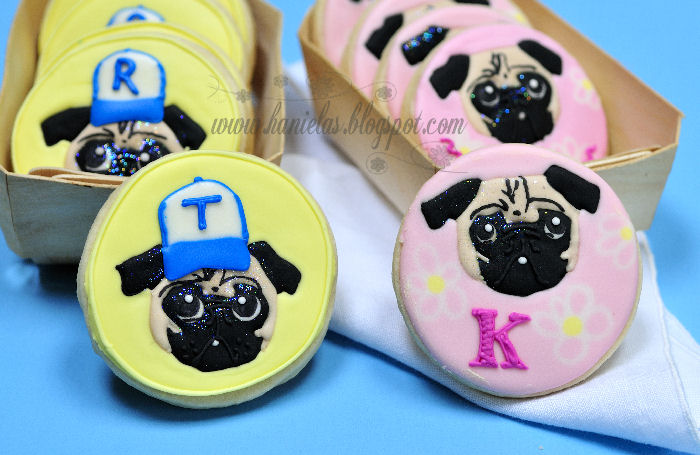
I was rather excited about these, but where to start? I don’t have a pug cutter nor I want to make one and so I was playing with several ideas and then I decided to use only a Pug’s Head and make 2 sets, one for girls and one for boys attending the party, including initials of each girl and boy in the design.
Tyler likes hats so I accessorized Pug with a hat and added initials on the hat.
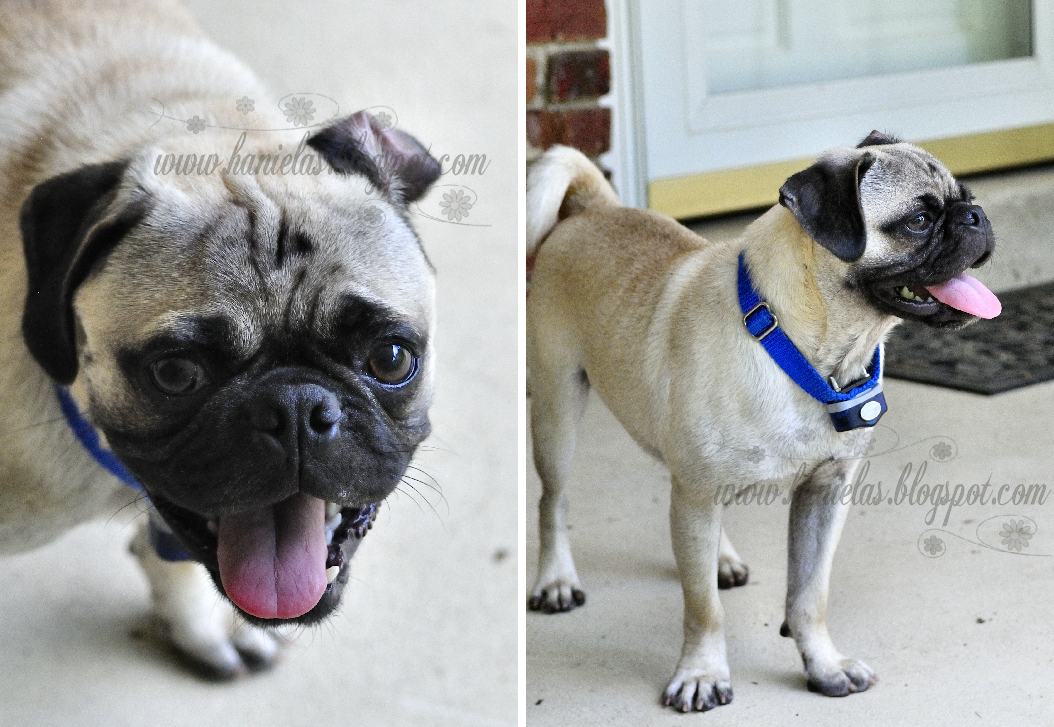 |
| Raider |
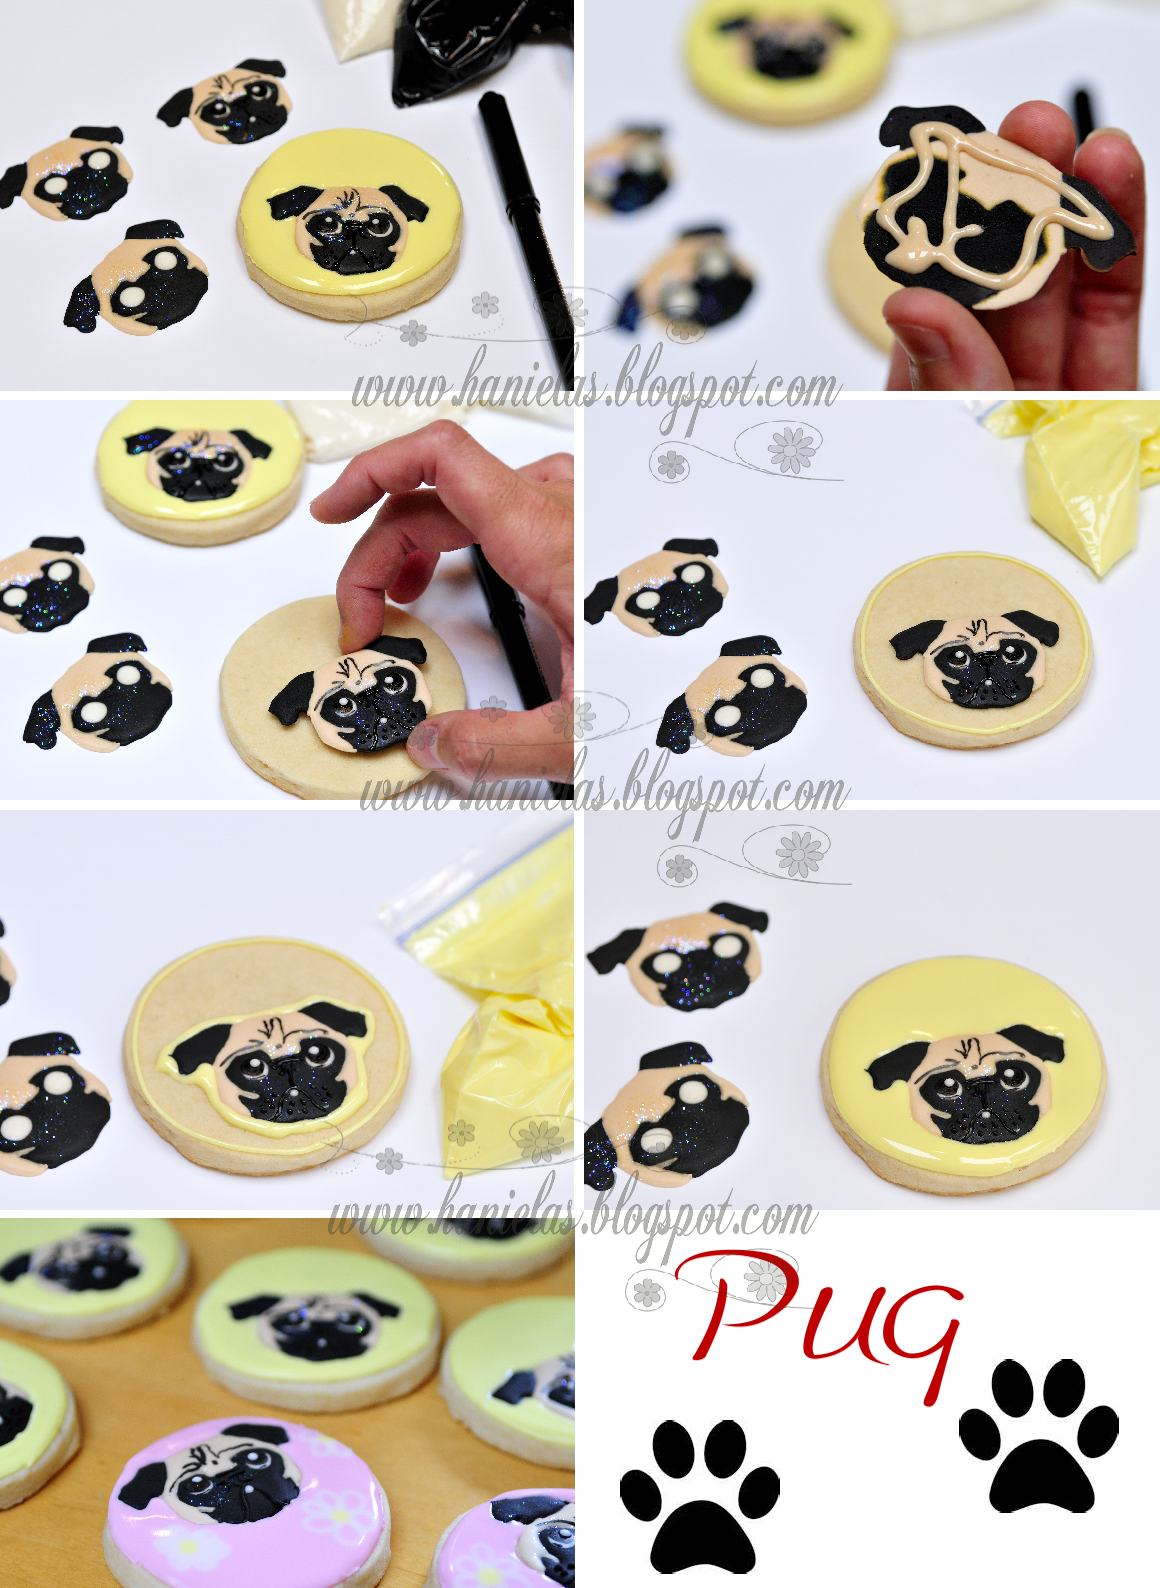
1. Make Royal Icing Transfers. Let them dry completely, at least for several hours or overnight. Use acetate sheets to make transfers.
2. Add details to the transfer, using edible pen and icing.
3. Apply Transfer onto a cookie, using royal icing as a glue
4.Flood the cookie. Sometimes cookie surface is not 100% even so for this reason I tightly flood around the transfer like you can see in the 4th image below. When I see there is a big gap between the transfer and a cookie I literally squeeze royal icing underneath and around the transfer.
5. Continue with flooding the whole cookie
6. Let dry completely before applying any other details
7. Do not be tempted to handle cookies while drying, this may result in hair lines “fractures” in your icing.
I added hat and boys’ initials

~Pug Cookies for Tyler and Katie~

Hi, I’m Hani
Welcome!
Thank you for visiting Haniela’s. On my blog, you’ll find delicious sweet & savory recipes made with simple ingredients. Why not start a new adventure? Discover a world of cookie decorating with my step-by-step tutorials.

Hi, I’m Hani
Welcome!
Thank you for visiting Haniela’s. On my blog, you’ll find delicious sweet & savory recipes made with simple ingredients. Why not start a new adventure? Discover a world of cookie decorating with my step-by-step tutorials.